|
|||||||||||||||||||||||


 |
|||||
|
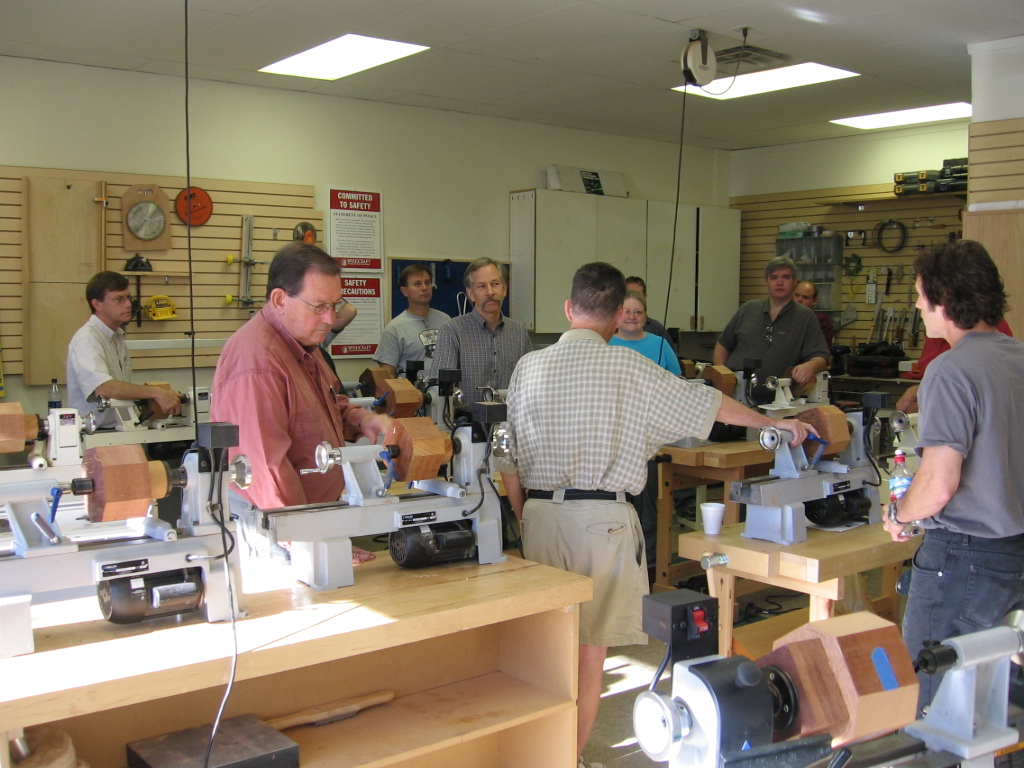
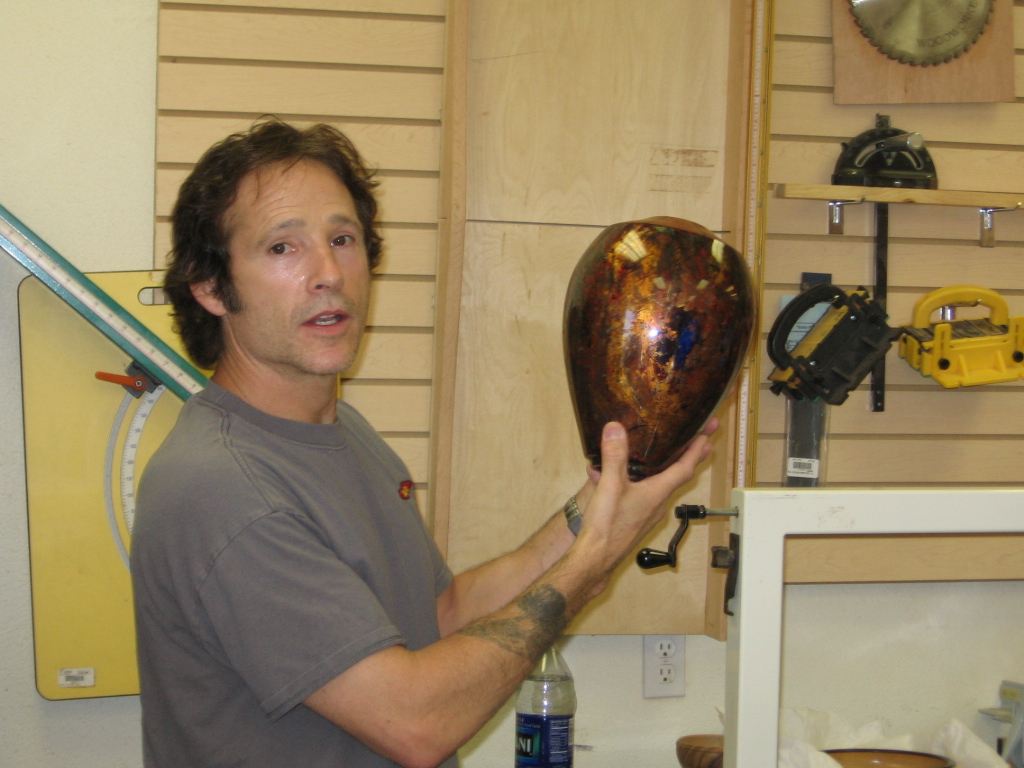
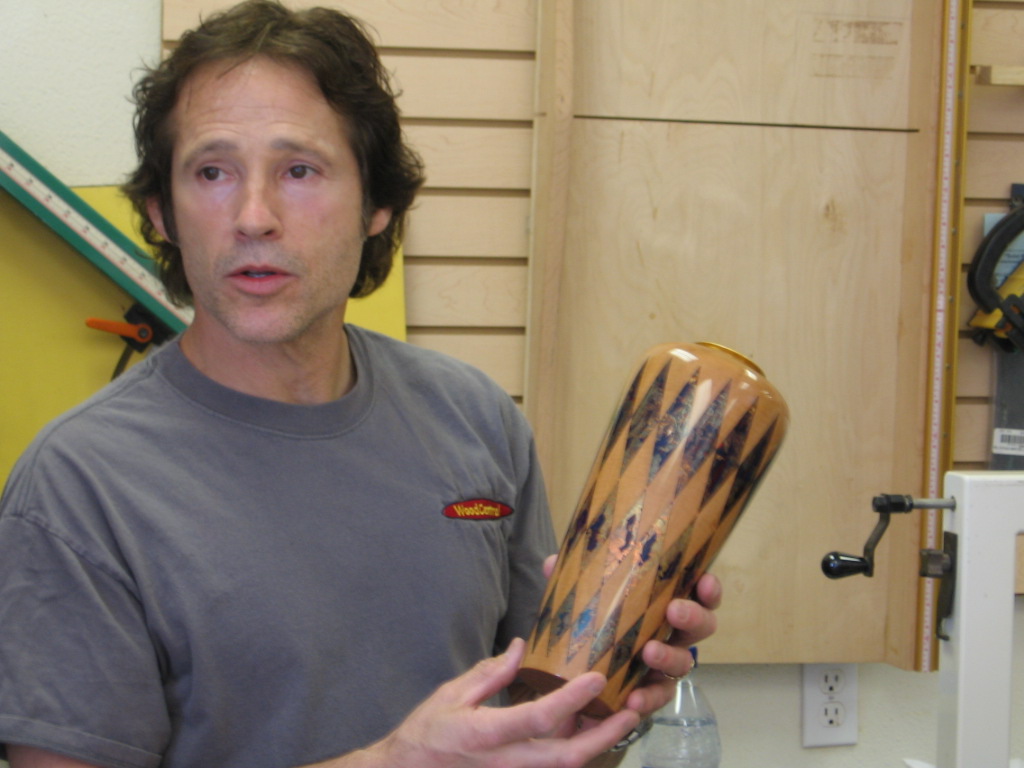
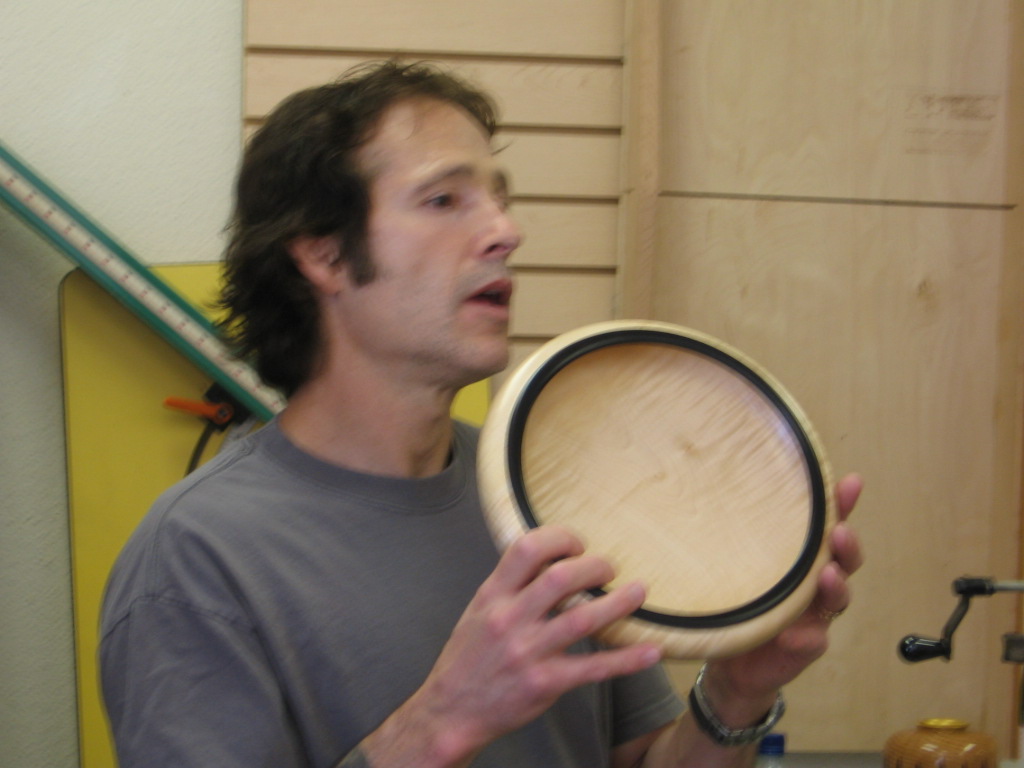
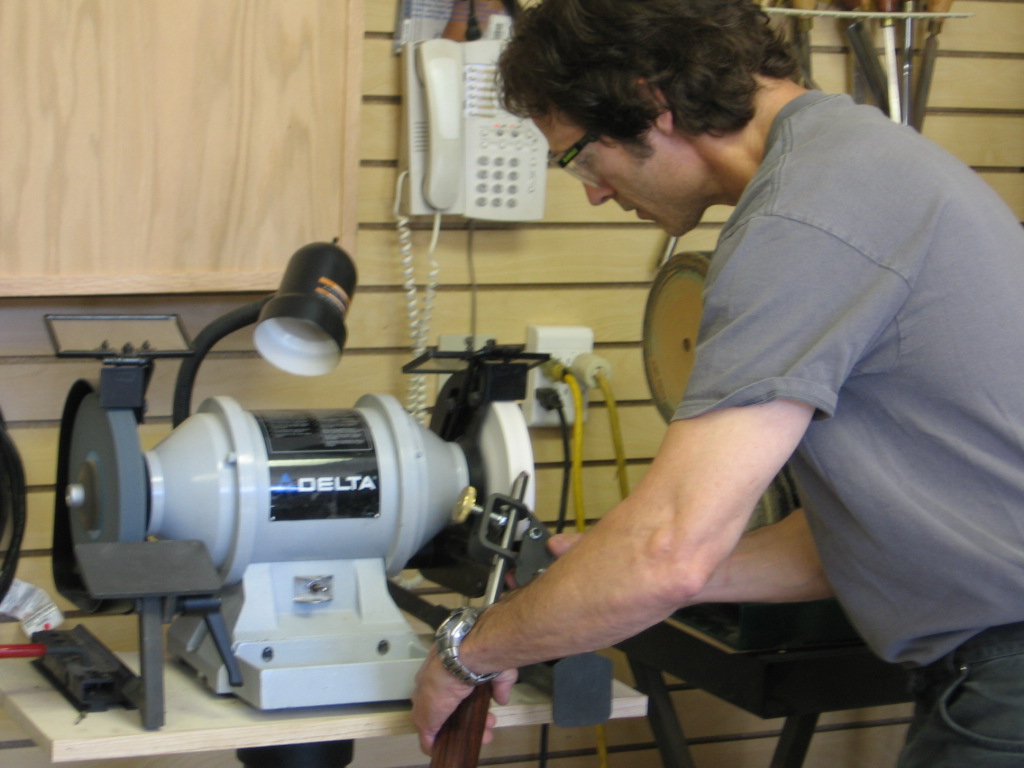
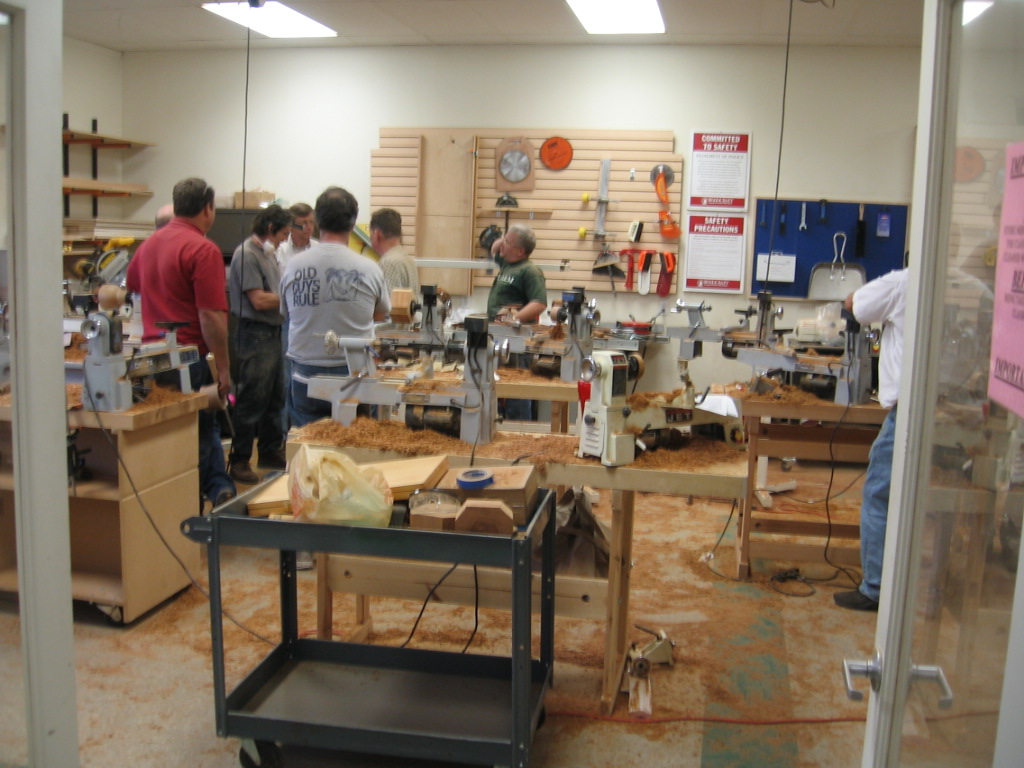
On October 21, 2005 the Woodcraft store in Austin hosted David Marks again, this time for a class on bowl turning. David spent a very long day taking 16 students through wood prep, sharpening, roughing and finishing a bowl. Woodcraft provided a loaner midi-lathe for each student and a block of wood was included in the price of the class. I lucked into a really nice piece of mahogany. Now you should know that I'm not crazy about turning - the idea of holding a sharp tool into a fast spinning piece of wood is a recipe for disaster in my eyes... but I couldn't pass up the chance to take another class from David. Here is a shot of the start of the class, then David showing us a metallized vase and ebony rimmed bowl.. |
|||||
 |
 |
||||
 |
 |
||||
|
We started off the day talking about sharpening. There are a lot of nuances in the grind angle of the various gouges used - some general guidelines apply but after a while people develop a personal preference. David showed us how to use the Wolverine jig on a slow-speed aluminum oxide wheel. This is safe for high speed steel or carbon steel and won't over-heat the tip. A trick he passed on is to use a black marker to "paint" the tip of the gouge to be sharpened; as you make sweeps of the handle, the ink will be removed until the tip is completely shiny and sharpened. |
|||||
 |
 |
||||
|
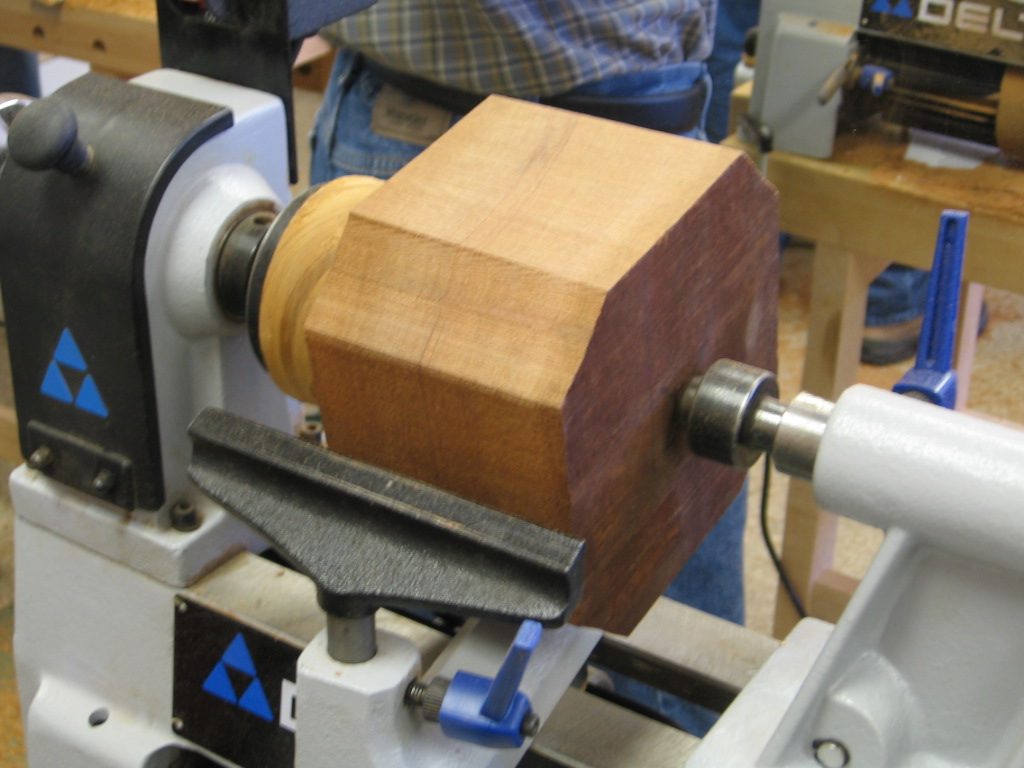
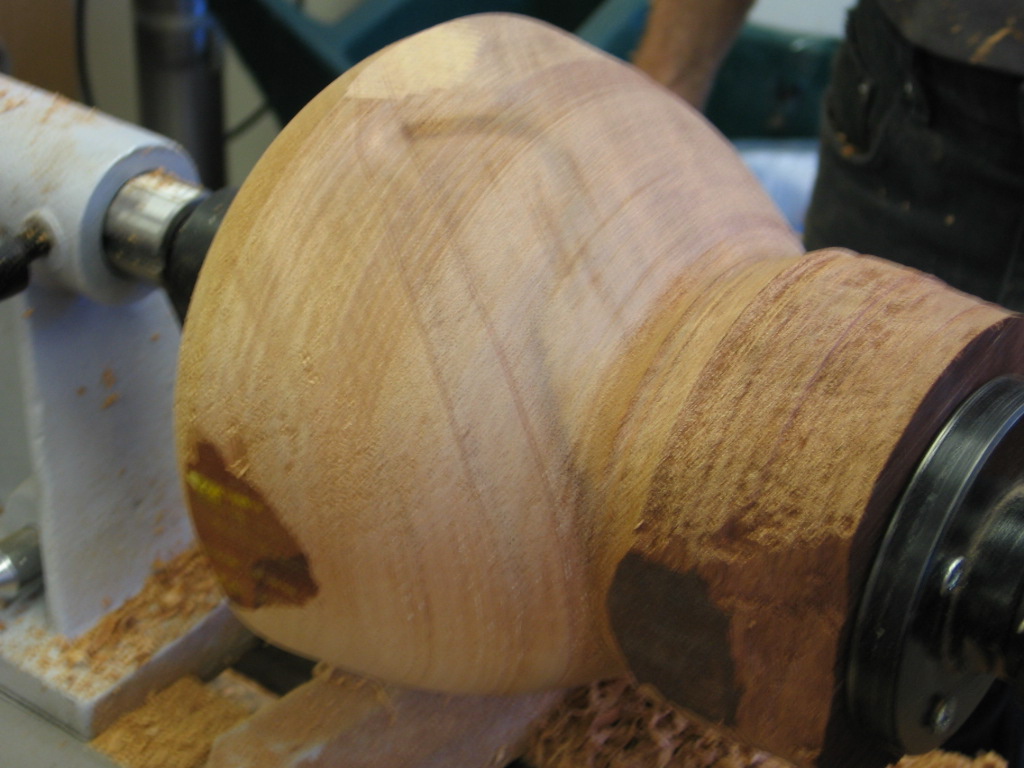
David then started working on a bowl blank, walking us step by step through the process we would follow. A block with the corners removed is roughed into shape, then rounded smooth. Then he begins to cut into the general shape of the bowl and refines it to the final shape. |
|||||
 |
 |
||||
 |
 |
||||
|
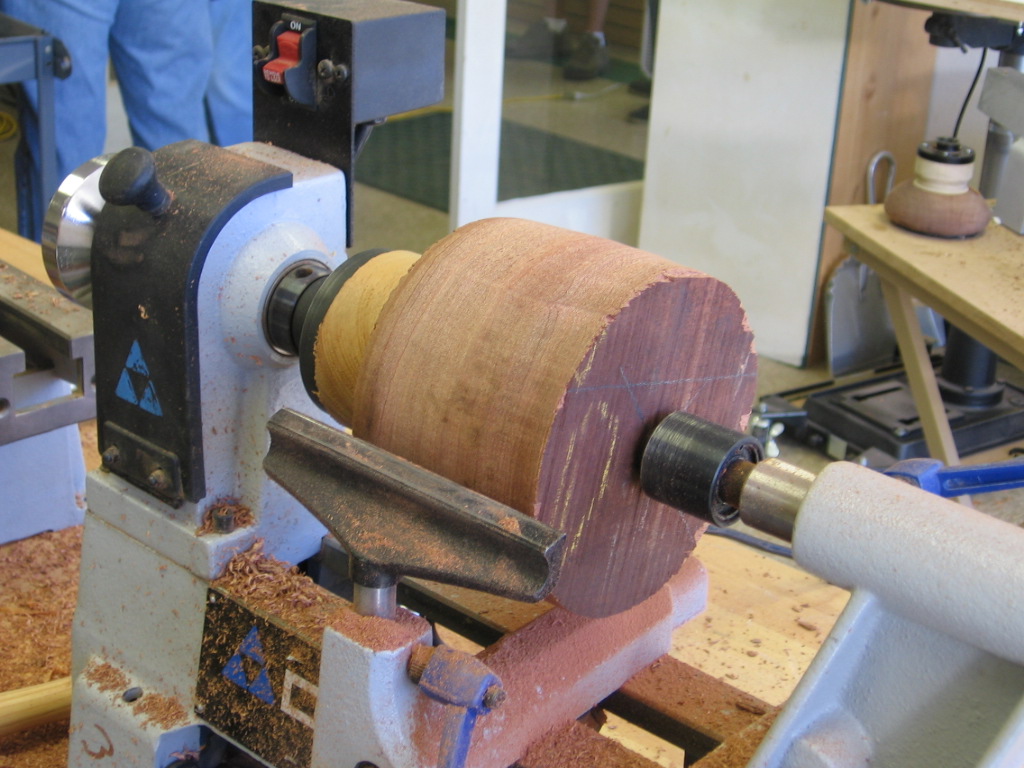
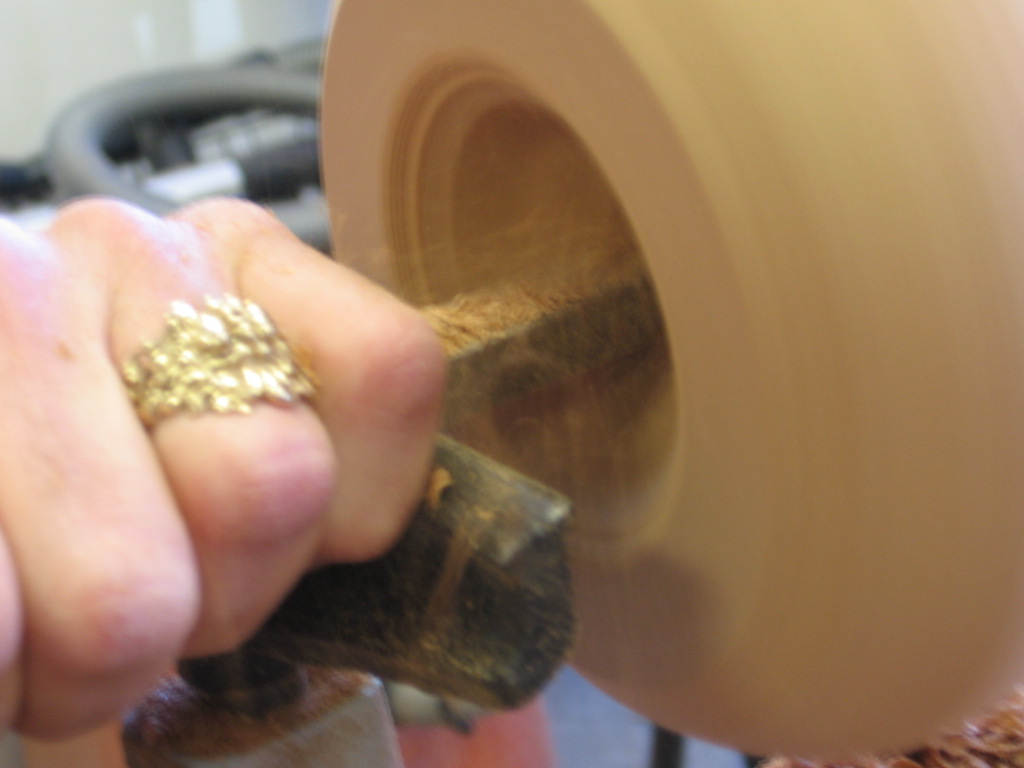
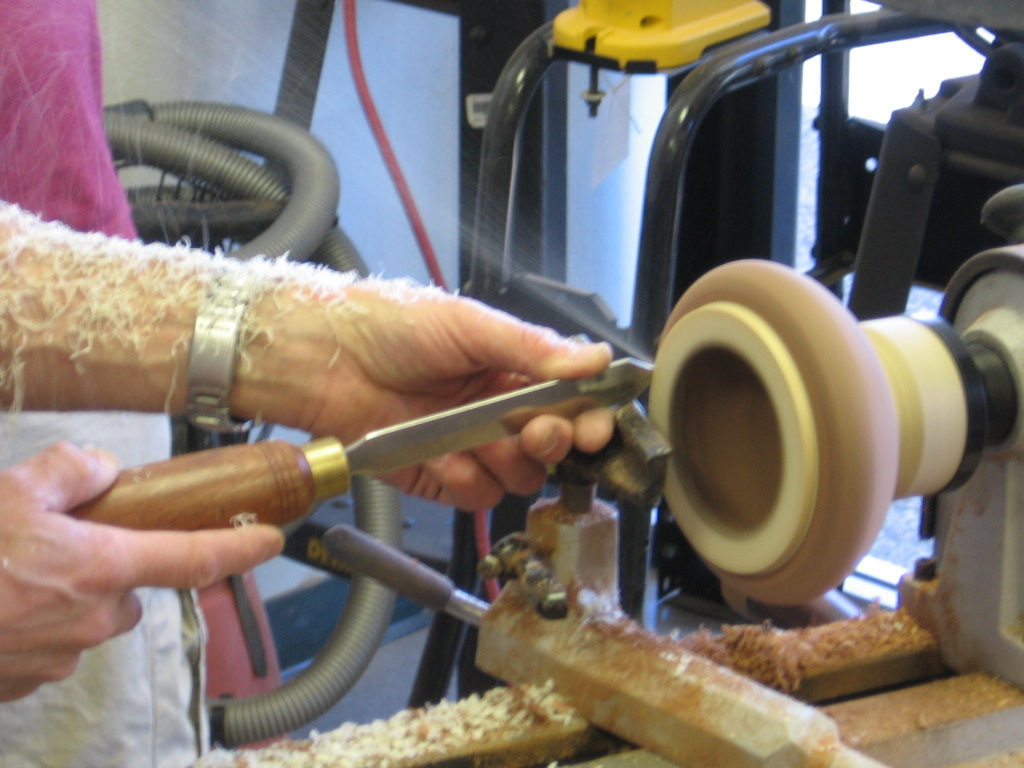
He then moves to removing the material inside the bowl. This is the part that bothers me the most as it's very easy to catch the wrong edge of a gouge, catch into the wood and explode it all over the room... Another good trick he described is to drill a hole (with a real drill with the bowl stopped or a small gouge with the bowl turning) to the desired depth of the bowl before starting working the inside - as long as you can see more "hole" you know you've got more to take out. When you come to the bottom of the bowl, you're at your desired depth. He suggests 1/4" wall thickness for newbies, the pros go for 1/16" or so... |
|||||
 |
 |
||||
|
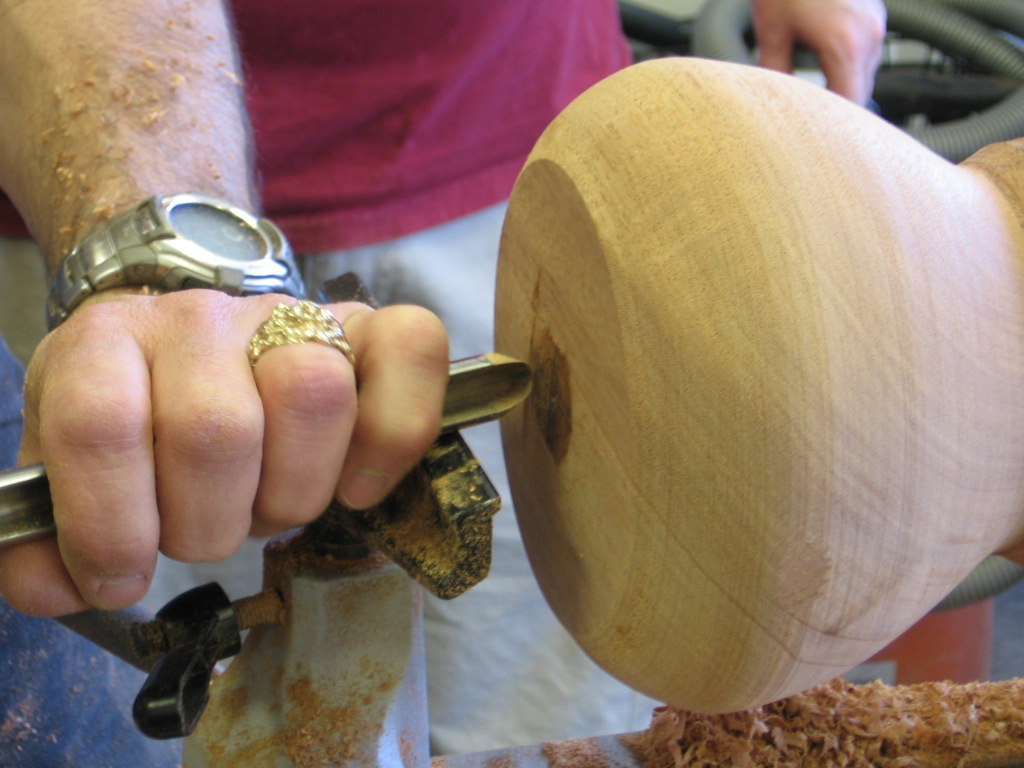
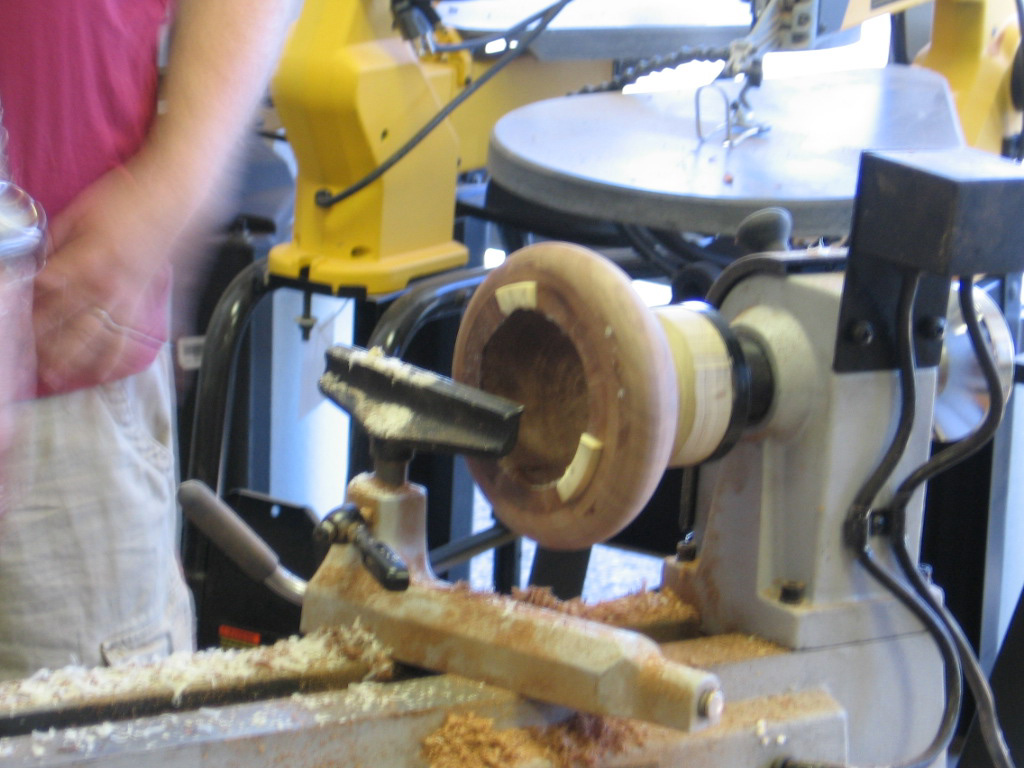
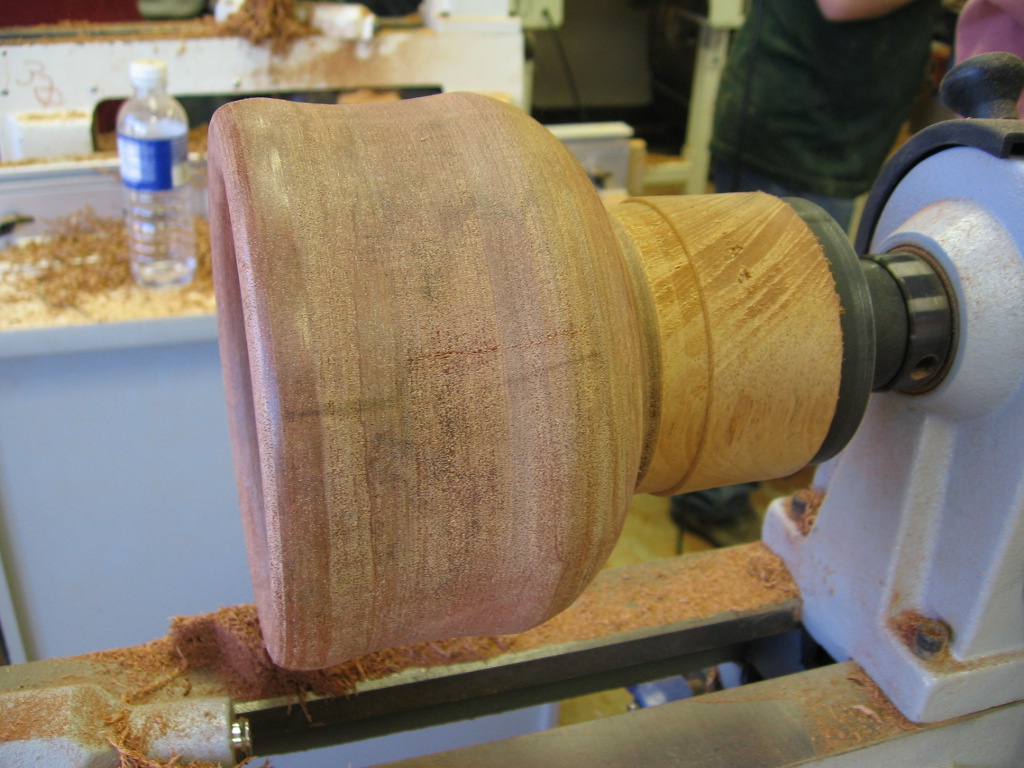
He made it look so effortless, but he's got the experience and the "feel" to know exactly how he can approch the cuts and how fast he can drive it. That is, until he chucked up a bowl his assistant Jerome had prepped for the class. This is a similar design to the ebony-rimmed bowl, but with tangua nuts meant to look like ivory. Things were going nicely until the glue holding the nut slices on failed, making little pinging noises around the room. |
|||||
 |
 |
||||
 |
|||||
|
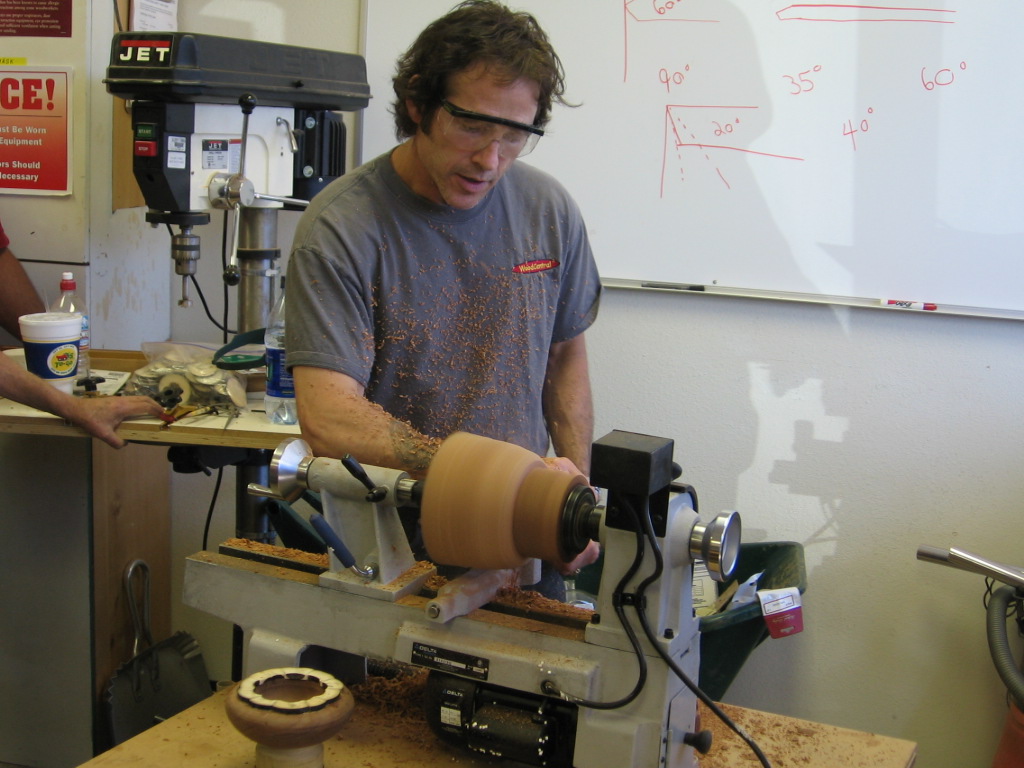
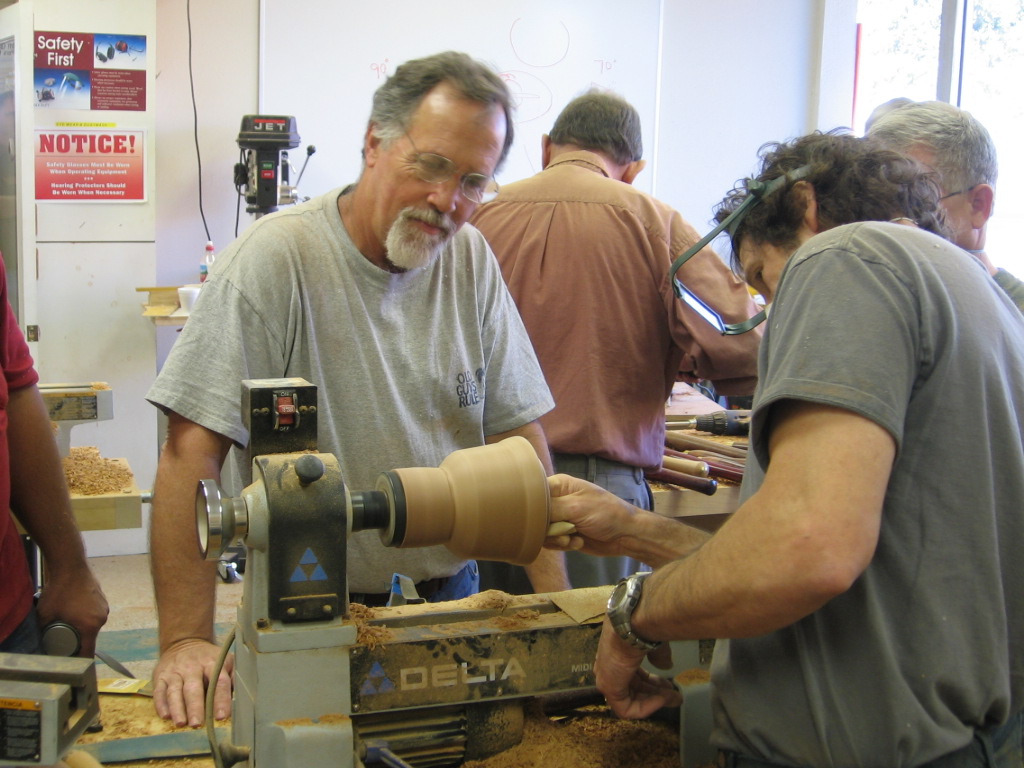
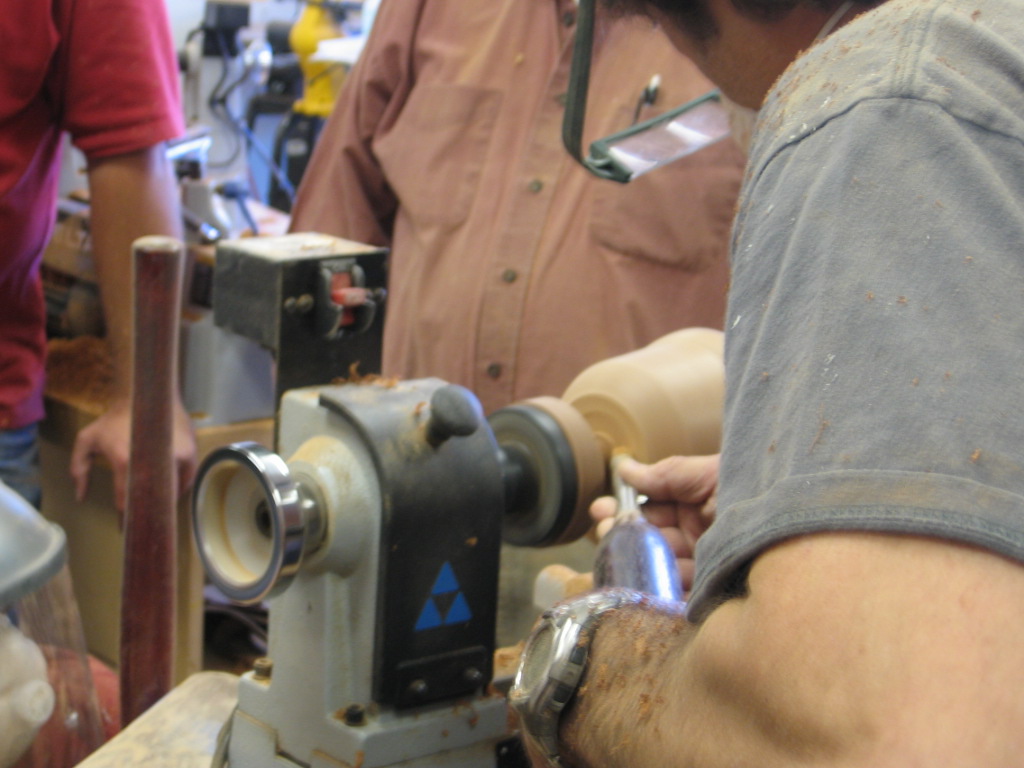
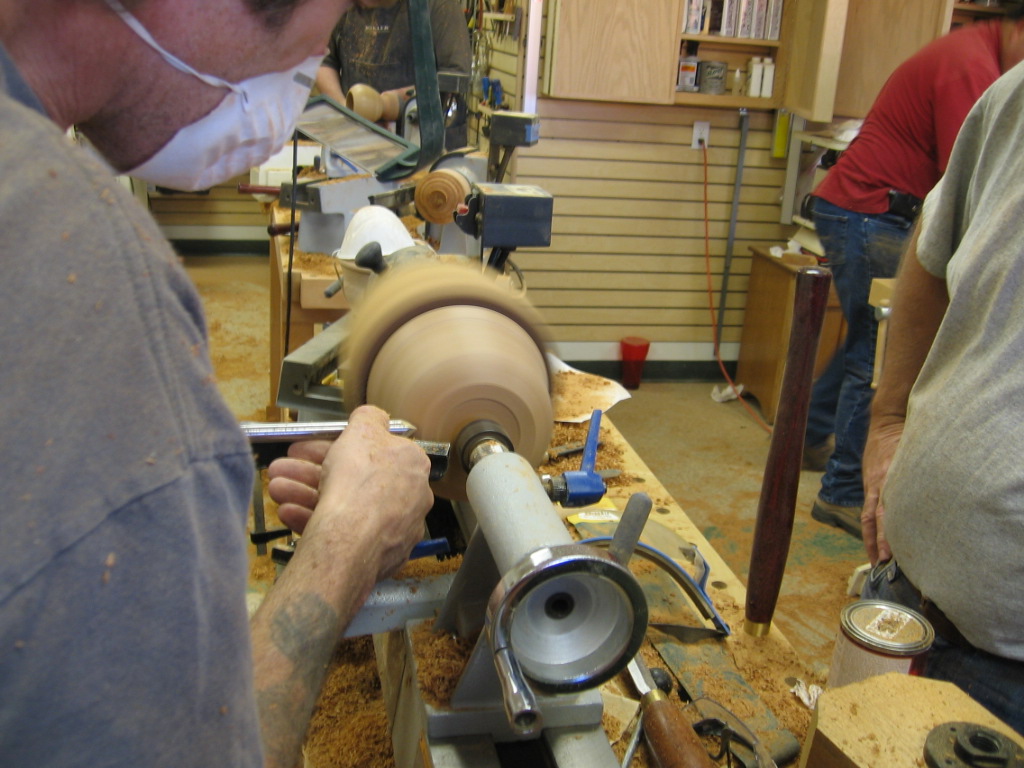
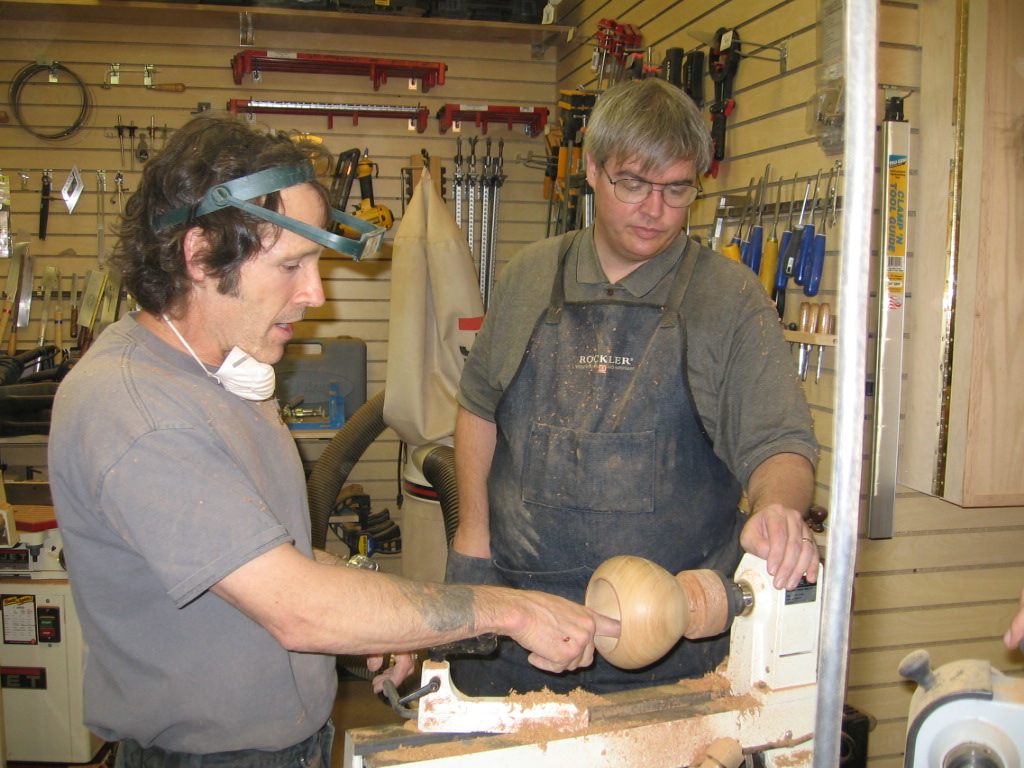
Here are some shots of David moving around the class, helping people with their bowls. As you can see, we made a tremendous amount of sawdust - my allergies were going crazy even with a dust mask... |
|||||
 |
 |
||||
 |
 |
||||
|
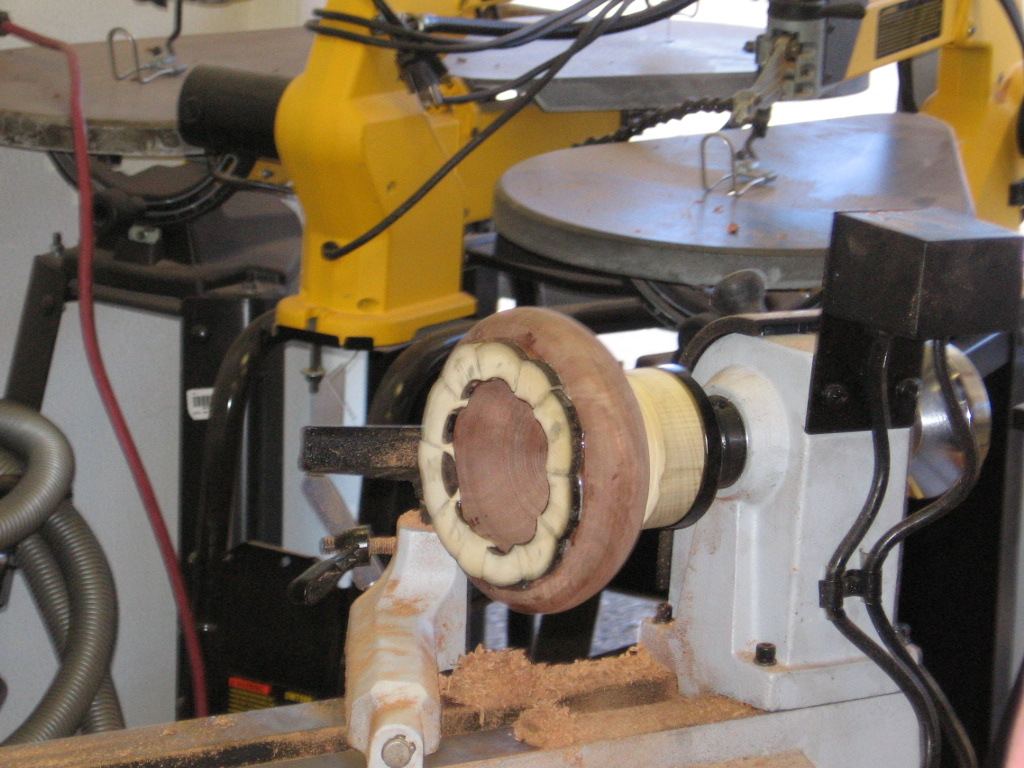
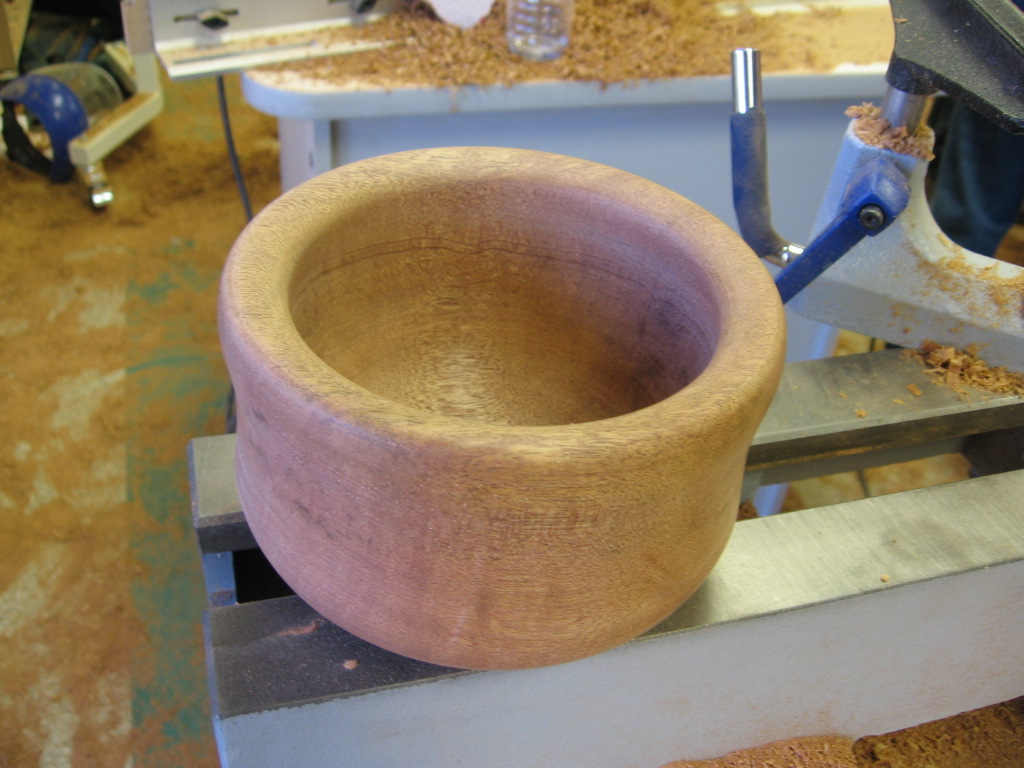
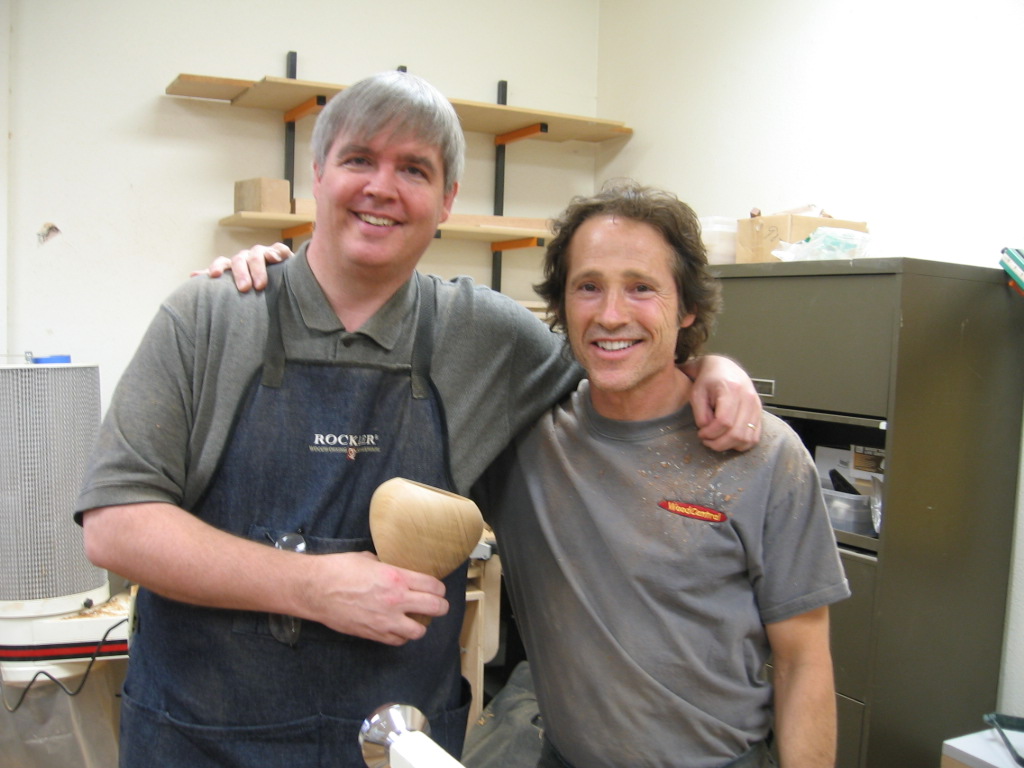
OK, so since I didn't want to leave the class with a bunch of pieces of a former-bowl, I decided to make a mortar-and-pestle style bowl - the sides are nice and thick. After applying a finish, the deep rich brown color really came out. |
|||||
 |
 |
||||
|
Fellow IBMers and wood-dorker Mark Giles turned this beautiful piece. He says the design was inspired by a knot in the wood which forced him to give this bowl a very delicate waist, unlike most of ours... :^) |
|||||
 |
 |
||||