|
|||||||||||||||||||||||


 |
||||
|
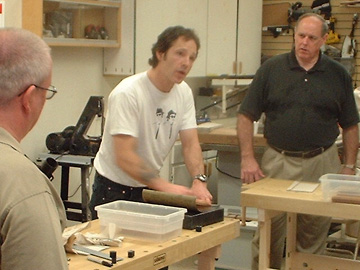
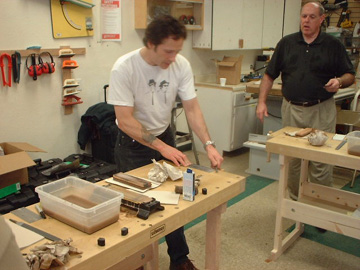
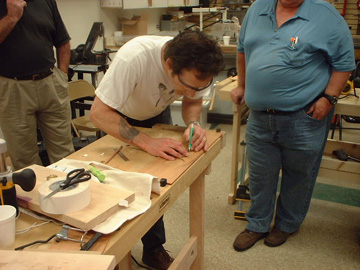
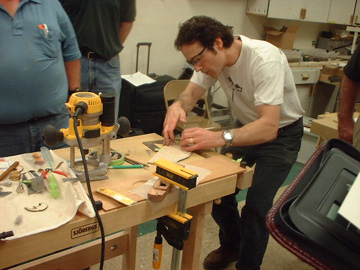
On December 6, 2004 I was fortunate to be able to attend a class taught by David Marks. He was making a teaching swing through the Texas Woodcraft stores. I made notes and took pictures through the day. Any mistake are mine. We started with the 13 students introducing ourselves and our woodworking interests to David. He then went around the room and confirmed everyone's name - a very impressive feat! Then we moved into 5 hours of sharpening. 5 hours you say? Yes, and worth every minute! David's philosophy is start with the sharpening basics, then refine your technique over time. Some people get very obsessive about sharpening but all of that effort doesn't produce any projects, so he suggests balancing sharpening with using the tool. We stated in on waterstones and cabinet scrapers. David says the King brand is an affordable synthetic while the Shapton brand is ceramic but expensive. Stones come in many sizes and hardnesses. Coarse grits down at 800, getting finer through 1200, 4000 and 6000. Arkansas stones use oil, not water. To prepare, submerge the stone in water for 20 minutes to ensure it's thoroughly soaked. The stone will move around on the table, so David uses a large block of wood with a rectangular stone-shaped cutout in the top to keep it stable. Below we see David flattening the waterstone and the students begins working on theirs. |
||||
 |
 |
|||
|
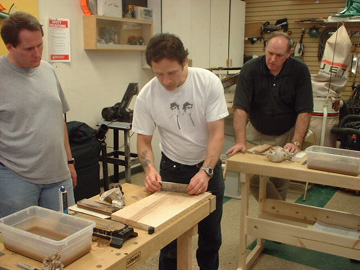
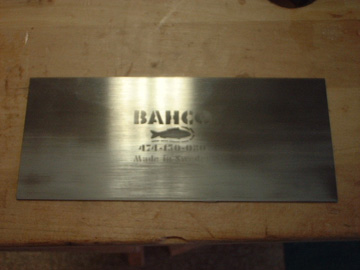
The process to sharpen a scraper is: file the edge, polish the sides, then the edge, then turn the burr on the edge. First step: File the edge. Use a metal file to flatten the long edge of the scraper. You can then slightly round the corners to avoid catching them on things. Clamp the scraper in a vise and push a fine tooth file along the edge, away from you, rotated to a 20 degree angle. Check the edge occasionally with a known straightedge - if you can see light, keep filing. One stroke of the file can make a big change, so take it easy. Second step: Polish the edge with the waterstone. Make a small block with a dead flat bottom and trusted 90 degree angle. Put the scraper against the side of the block, with the long edge in contact with the waterstone. Rub the block back and forth, using it to support the scraper as the stone polishes the edge. A good technique is to use a magic marker on the edge - rub then check for any marks that remain. Third step: Polish the sides with the waterstone. Ensure the waterstone itself is flat - if not, use 220 grit wet/dry sandpaper and a flat surface. Put the flat edge of the scraper on the stone, rubbing with even pressure. Use enough pressure to see your fingertips turn white but not too heavy so you start cutting grooves into the stone itself. Focus on the 1/2" near the edge. You know you're done when the side near the edge is uniformly scuffed. |
||||
 |
 |
|||
|
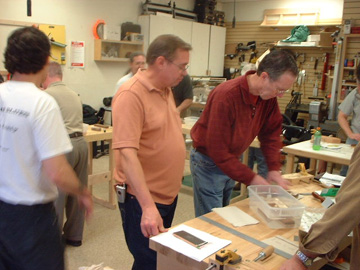
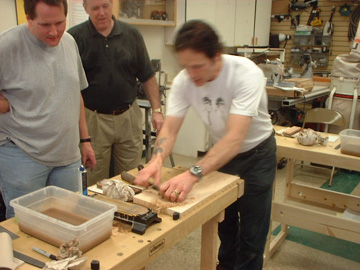
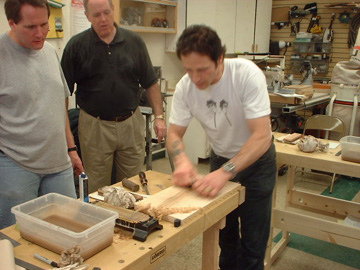
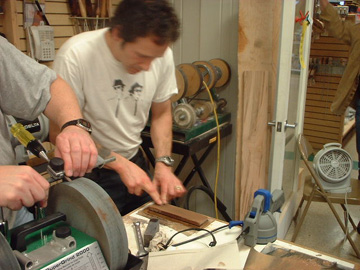
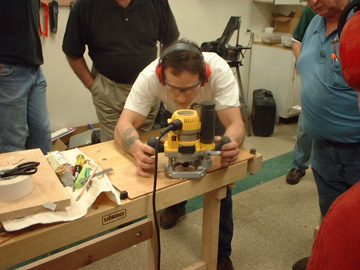
Fourth step: Burnishing the edge. Burnishing is the term for creating a small curl (burr) of metal right at the edge - this is the part of the scraper that actually does the work. A proper burr will cause block-plane-like shavings to come off the wood. If you get dust then the burr is not correct. You need a rounded piece of metal harder than the scraper, like a screwdriver shaft or a special burnishing rod. Holding the rod close in to your stomach, pull the long edge of the scraper against the rod at a 5% angle down and 5% angle to the side for 10 strokes. The face to be burnished should be toward the rod. You will have to apply significant, consistent pressure to get the burr to turn. You should be able to feel the burr with your finger. This description isn't very clear as it's much better to watch someone do it! You should be able to re-burnish the edge 10 - 12 times before needing to start back at step one with a full filing, polishing and burnishing. You should re-burnish when the shavings turn into dust. Below David pulls the burr and tests his scraper. |
||||
 |
 |
|||
 |
 |
|||
|
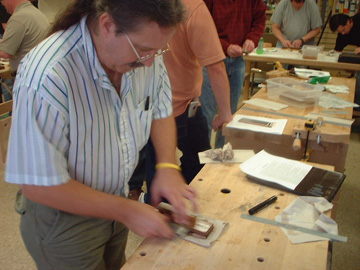
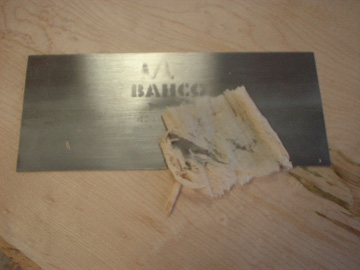
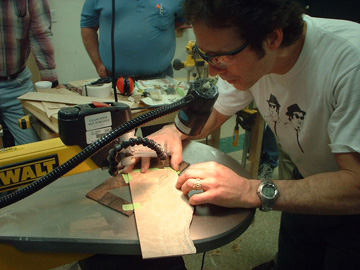
Below is the scuffed side of my scraper along with evidence the my scraper worked! |
||||
 |
 |
|||
|
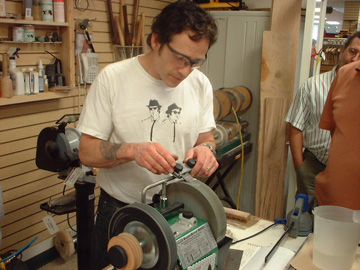
We then discussed diamond stones. The great thing about diamond stones is they are machined as a very thin layer on a synthetic base and don't need flattening. On the downside they are quite expensive. DMT and Trend brands are very good. The diamond stone I bought has a coarse grit on one side and a fine grit on the other side. You use water as a lubricant and I can attest that it does a great job - I've done chisels, hand planes and spokeshave blades. Now that your scraper is sharp, it's time to use it. The technique is to place the long edge on the board, hold it with your thumbs pointing at each other and pressing at the center of the side while your index and middle fingers pull back on the sides. Tilt the scraper slightly away from you, gently press out with your thumbs to cause the scraper to arc, then push away. You should get some scraping effect which will get better with practice. Try to push away at different angles to the grain and different arc shapes. Different positions on the edge will have different sharpness so try changing contact points along the edge. We then moved on to sharpening on a grinding wheel. David likes an 8" 100 grit aluminum oxide wheel, running at a slow speed, for chisels and plane irons. Before grinding you have to make sure that the wheel is flat, otherwise the sharpening will not produce the effect you want. Use the "dressing wheel" that came with the grinder to flatten the wheel. The term "hollow grinding" comes from sharpening the bevel of a tool against the circular grinding wheel - this causes a semi-circular concave shaped "hollow" in the tool - get it? To effectively sharpen a tool, adjust the angle of the tool rest to match the angle on the tool to be sharpened. A good technique is to color the bevel of the tool with a magic marker, then grind until all nicks are removed and the edge is even. David used a Tormek grinder for the first time. He had heard good things about them but never had the opportunity before. He used the Tormek to do a hollow grind on a plane iron, then moved to a waterstone to flatten the sole - the trick is to remove all of the shine and make it consistently scuffed like the scraper. Then he flipped it over and tipped it up just until the small bevel at the tip contacts the stone. A few slow strokes takes off the burr - we want it on a scraper but don't want it on a plane iron... He then repeated on a 6000 grit stone. |
||||
 |
 |
|||
|
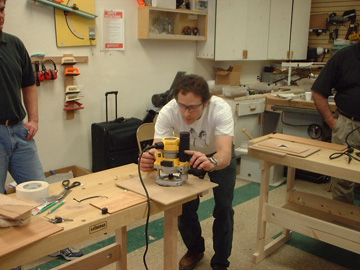
There are scrapers shaped like a french curve - they are harder to sharpen but worth the effort when scraping non-flat objects like moldings, curved table legs, etc. Use a file to follow the curve, staying at 90 degrees to the edge. Ignore the inside curves as most cutting is done with the convex shape. Polish and pull the burr as with a straight scraper. Next we moved on to inlays. You can make inlays in three ways, with a router, freehand or double-bevel with a scrollsaw. To make an inlay with a router, you mount a brass bushing set into the hole in the base plate of the router. The key is to get the bushing perfectly centered around the bit. You then make your pattern template using something like thin plywood or hardboard. Using a 1/8" spiral upcut bit you cut out the material to be inlaid. You remove a ring on the bushing and set the depth of cut a little shallower than the thickness of the inlay material. Put the template on the base material and remove everything inside the template. Spread glue in the base material and tap the inlay into the base. It should fit perfectly - to tighten it up if necessary, rub some sawdust in the crack. To make a freehand inlay. cut the piece to be inlaid to shape, perhaps with a scrollsaw and small files. You then double-stick tape it to the base material and scribe around the piece with a very sharp knife - this helps define the edge by severing the wood fibers. Be careful not to let the knife tip get caught in the wood grain. Carefully pop the piece off and rub a pencil lead into the knife cut to make it stand out. Put a fine sprial upcut bit in the router and remove the material inside the line freehand - very carefully! |
||||
 |
 |
|||
 |
|
|||
|
Now we moved on to double-bevel marquetry. This produces the tightest fit and avoids gaps due to cutting errors. You create it by cutting through two pieces of veneer on the scrollsaw at the same time. The pieces should be very close to the same thickness for best fit. David recommends 3/32" thickness, a .02 scrollsaw blade and a 7 degree angle on the saw. First mark the design on one piece - the "background" veneer. Using a pin vise and a tiny drill bit (2 ought or 2/0), drill a pilot hole just inside the pencil line on the other piece, tilted toward the outside of the design. Doublestick tape them together. Cut out the inside material at a very slow speed. Note that since the pieces are being cut at the same time, even a mistake following the line will not affect the match. |
||||
 |
 |
|||
 |
||||
|
Next we moved on to finishes. The key thing for David is thorough surface preparation. No work on the finish can overcome problems in the surface itself. He recommends sanding through multiple grits up to 320 to take out all scratches. He then raises the grain by spraying or wiping on water, then sanding until the grain doesn't raise anymore. He likes to put on tung oil and buff most of it off - many thin layers are better than fewer thick layers as they dry faster and end up stronger. He uses four ought (0000) steel wool to lightly buff between coats. For large sections, finish surfaces in sections and then buff the whole thing. He likes McFadden guitar lacquer and sanding sealer. He rubs out the lacquer and sands with 320 between coats. He polishes the final coat with MicroMesh abrasive, wet sanding with naptha up to 12000 grit paper, available at automotive paint supply houses. If you don't sand well, surface tension will cause little craters to form in the finish. Glues were the next topic. For bent laminations, he likes urea resin glue, but it takes overnight to cure. It is hard and brittle but makes for very tight, rigid glue lines. He uses 2 parts resin and one part powder, mixing in a dixie cup. It won't cure under 65 degrees so a cold day will extend the work time. Lastly he showed us a piece he did using a technique called string inlay. This is where you rout a very thin long channel and insert a contrasting wood strip. He likes to use strips of tagua nut, which is used as an ivory replacement. To avoid obvious joints where you have to put in multiple segments, use scarf joints. Through the day David gave us some information on what it's like to do a TV show.
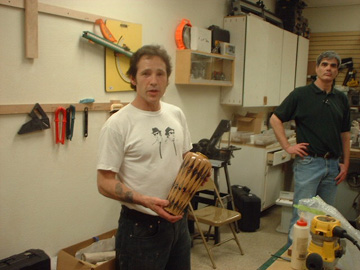
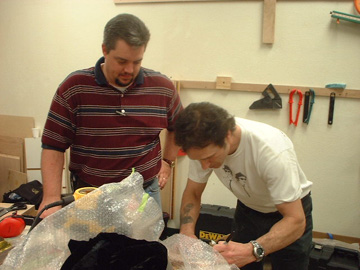
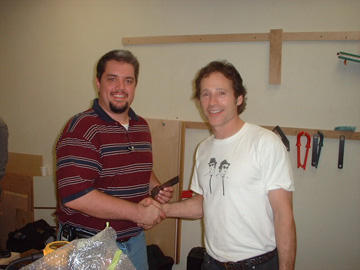
David brought along several of his pieces, including this vase. He then signed autographs for everyone. The class went from 9 AM and past the stop time of 5:00 to about 6:30 when they had to drag him away to be ready to teach his class in Houston the next morning. David is a skilled designer, woodworker and teacher and everyone in the class appreciated the opportunity to learn from him. |
||||
 |
 |
|||
 |
 |
|||