|
|||||||||||||||||||||||


 |
||||
|
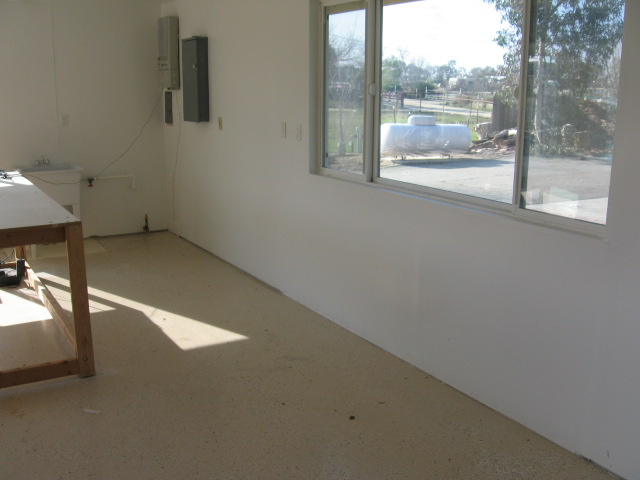
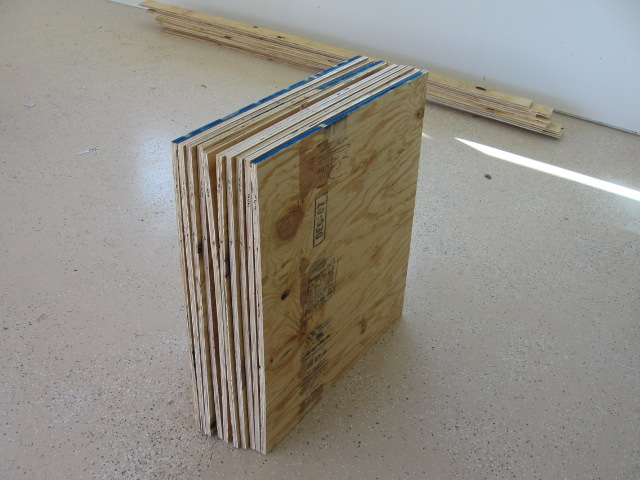
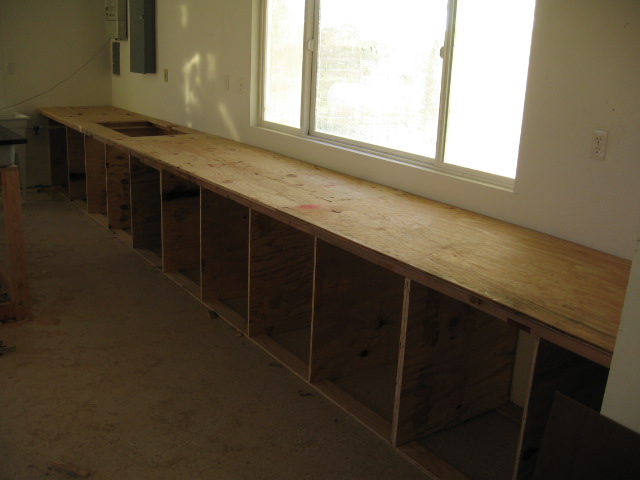
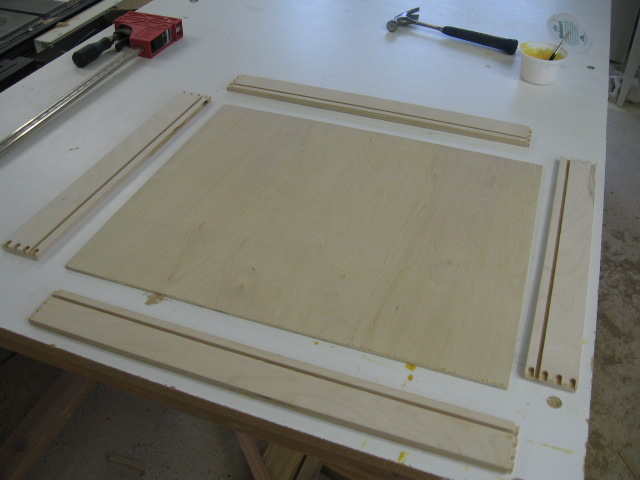
In my two other workshops I had very limited workbench space and even less storage space so I decided to solve two problems at once in this shop. The idea is to run a workbench all the way down the western wall and have drawers underneath to store everything from screws to hardware to batteries to hand tools to power tools - I don't want anything hanging from pegs on the wall. Embedded into the workbench will be a Delta Shopmaster Downdraft Mat Dust Collection Table that I picked up at a great price on sale at Outlet Tool Supply, and a radial arm saw. This picture shows the empty wall. I decided to go with a variation of Norm Abram's updated workbench in his shop, as built in New Yankee Workshop episode 1306. Instead of Norm's choice of birch plywood I went with shealthing material, about half the price and it won't be seen so I figured it was a good deal. Only issues were a bit of warping of the panels and some voids when I glued/screwed the cleats to the panels, but it worked out fine in the end. Here are the cut 28" x 31 1/2" dividers and 4" cleats. |
||||
 |
 |
|||
|
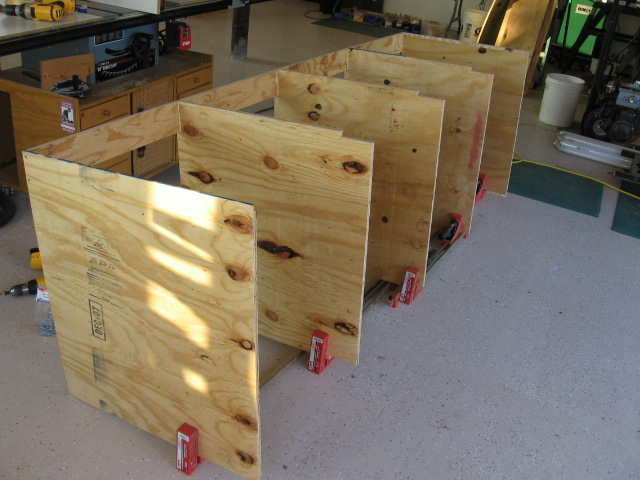
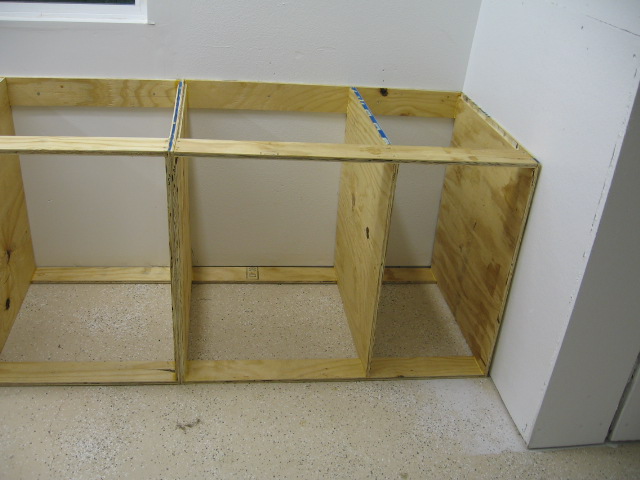
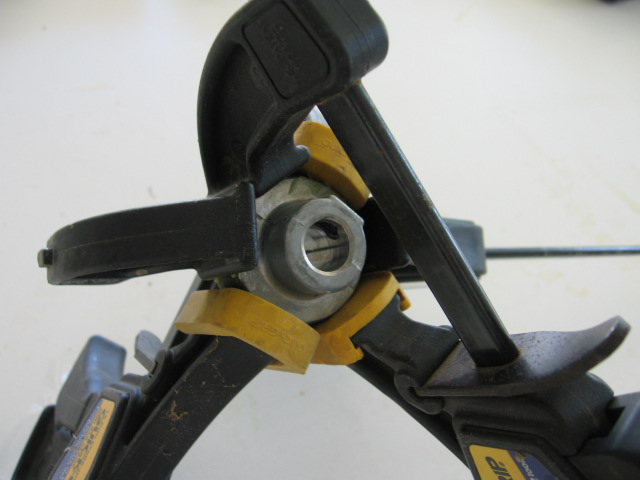
It's hard to keep the dividers upright to attach the cleats so I used my Jet clamps to hold things in place during assembly. Due to the length of the wall and thinking ahead for the position of the sanding platform and radial arm saw, I decided to make two 8' units, then an odd-size unit on the left and an odd-size unit on the right. |
||||
 |
 |
|||
|
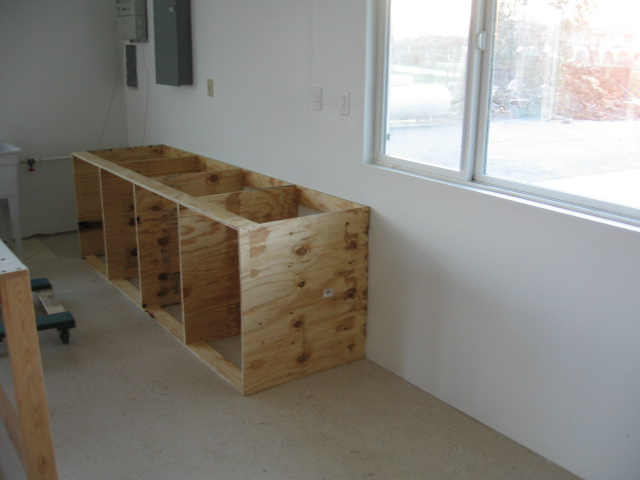
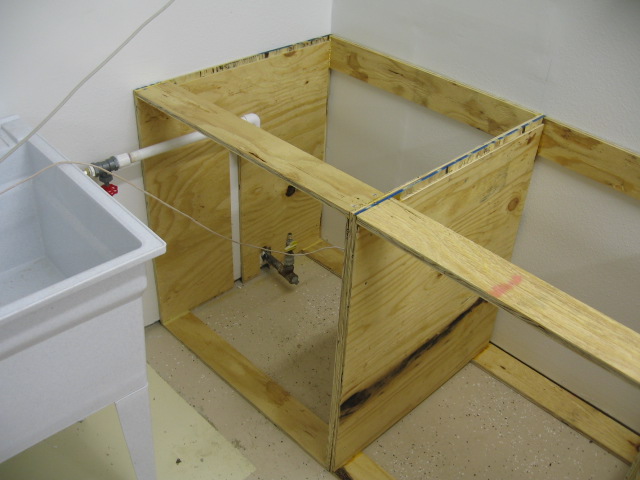
On the left side I had to notch around the PVC water supply pipe and a capped-off propane supply pipe. On the right side I had one standard-width drawer bay and the leftover space up to the wall of the noisy room. |
||||
 |
 |
|||
|
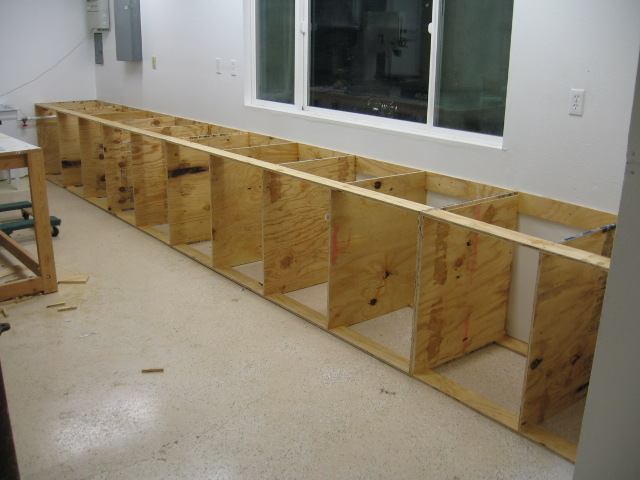
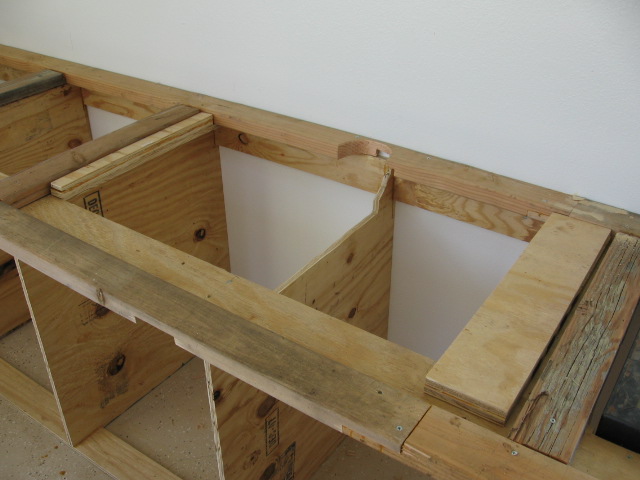
From the fully integrated units, I built a frame of half-lapped 2x4s. One strip along the back, one strip along the front (overhanging 4") and one centered over each panel. The half-laps are glued and screwed, then the whole network is screwed down to the cleats and panels. This forms the strong sub-frame for the sheet goods that make the workbench top. |
||||
 |
 |
|||
|
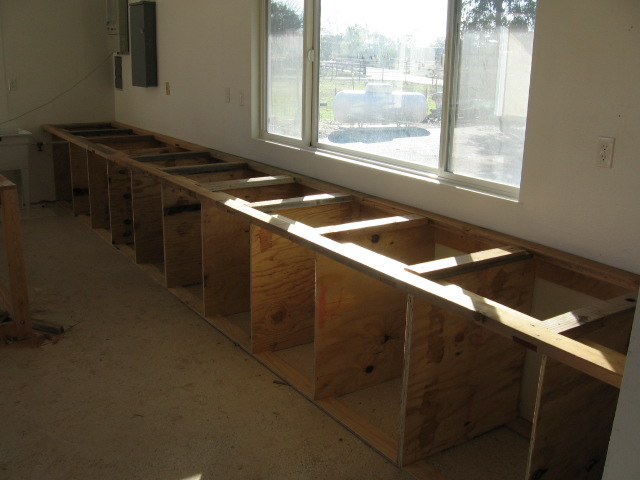
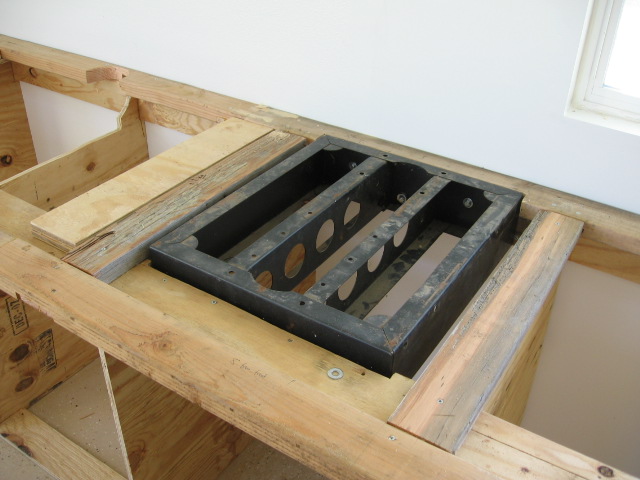
Here's where it gets interesting. I had to make strong, undermounted supports for the sanding platform and the radial arm saw base. The top of the platform will sit flush with the workbench top so I have to cut a hole of fairly exact placement and size for the unit and its dust collection fittings. The radial arm saw base is placed on support cleats, then lag bolted front and back. The base will sit just below the sheet goods so no big hole for the base is required. I stood on it to make sure it was strong enough to handle the weight of the saw and I didn't see any give so I have my fingers crossed. |
||||
 |
 |
|||
|
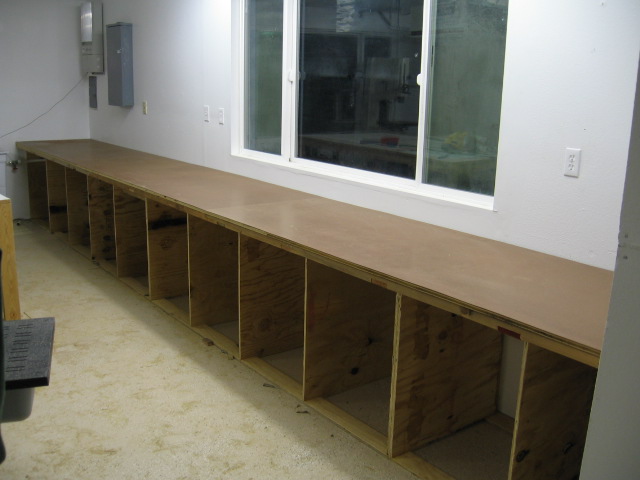
Next I cut and screwed down 3 sheets of sheathing to the 2x4 frame, and cut the hole for the sanding platform. Then I cut and finish nailed-down the 1/8" hardboard - the top surface of the bench. We're getting into the home stretch! |
||||
 |
 |
|||
|
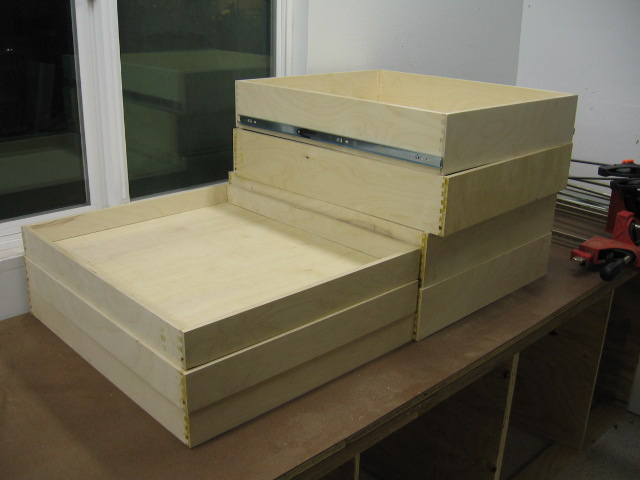
With the bench in place, I can start on the drawers. My goal is to have everything in drawers, nothing hanging from pegs or on shelves. I'm using my dovetailing system from Jointech. I had to re-learn how to use it, but once I got it set up, the drawers practically make themselves. I built four 2" deep drawers and four 4" deep drawers at this time. As time goes by I can decide what size drawers to build. |
||||
 |
 |
|||
|
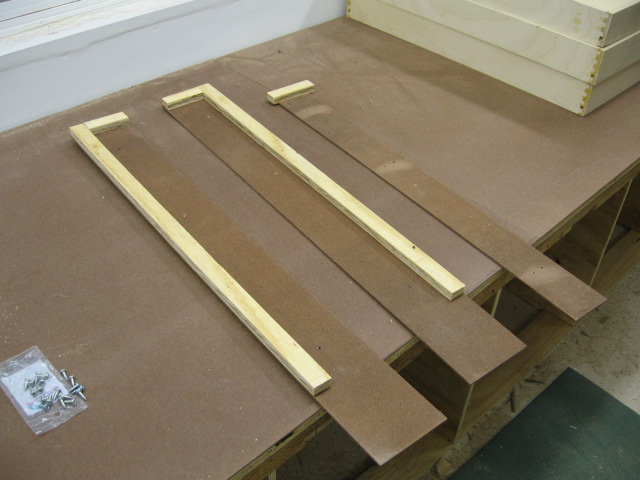
Since I was going to install 8 drawers here and two more in the laundry room in the house, I decided to make jigs for attaching the 100 pound, full-extension drawer slides to the drawers and cabinets. And the first one goes in perfectly (and that rarely happens so I'm enjoying the moment). |
||||
 |
 |
|||
|
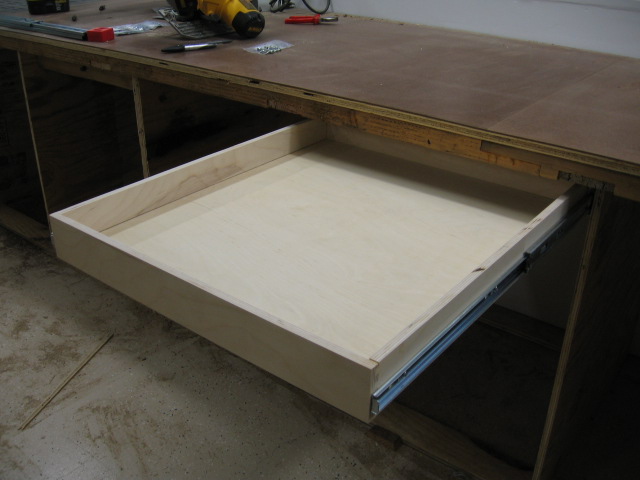
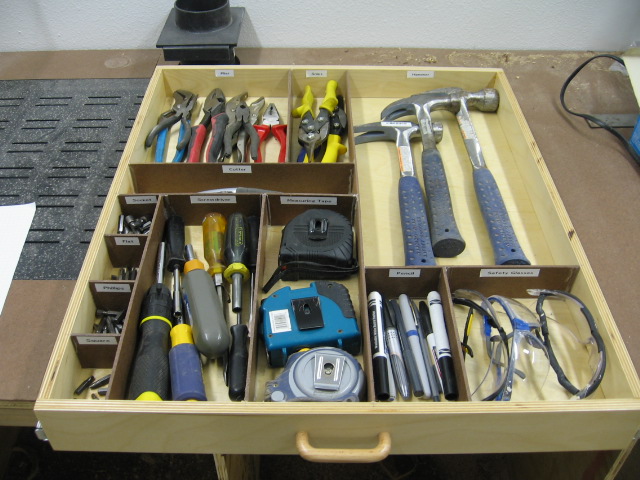
I spent most of the Superbowl cutting out pieces of graph paper to fit all of my tools into the drawers. I then cut and hot glued pieces of hardboard into place. This is the result of the first drawer. Only 7 more to go. |
||||
 |
||||
|
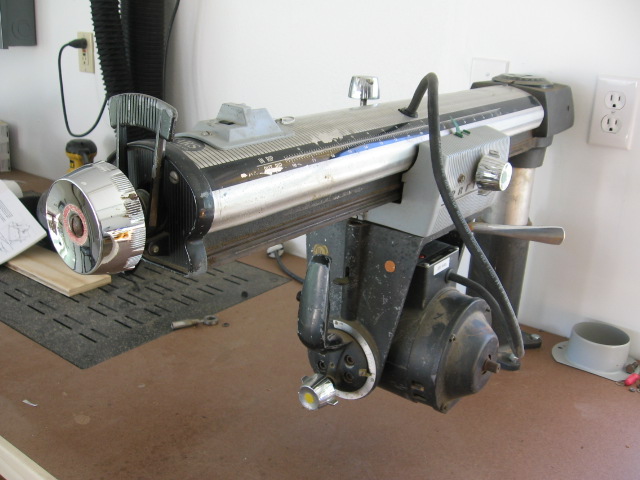
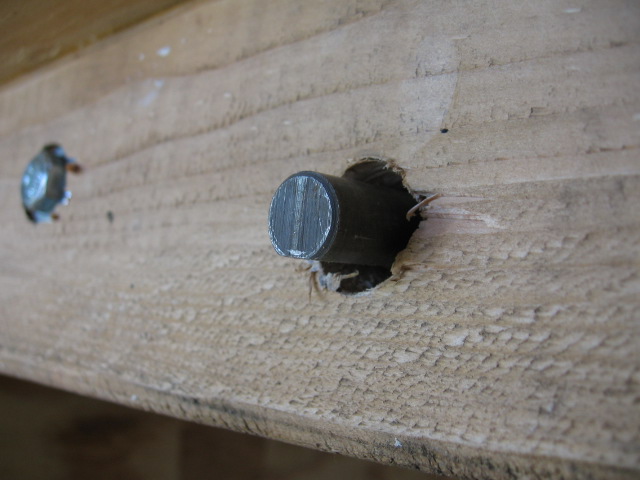
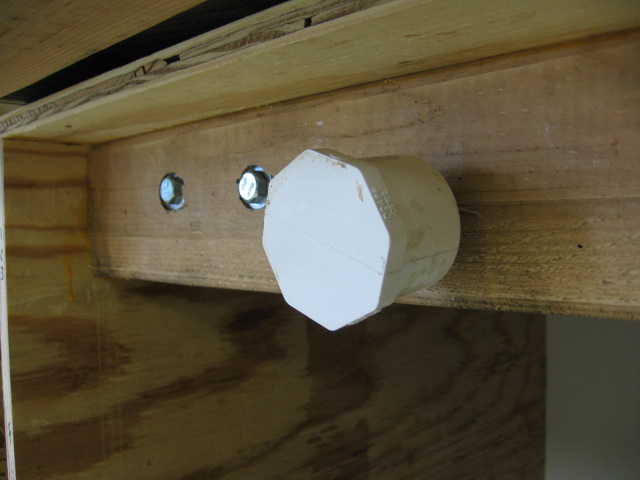
Now that the bench is in place, I can go back and complete the installation of the Radial Arm Saw. It's a 1960's vintage Craftsman model, that I bought in Austin for $50 at a garage sale. I switched the motor to 220V, and installed new round black wire. The height adjustment shaft just sticks through the front of the bench, but the stock handle doesn't have enough clearance to turn, so I had to come up with the different plan. I bought a 2" diameter pulley, a small V belt and a octagonal-shaped PVC end cap. I cut a section of V-belt just the right size to fit around the pulley, then epoxied it into place. I then epoxied the end cap and pounded it down onto the pulley - the V-belt acts as a gasket of just the right size to make everything fit tightly. The new adjustment knob then fits onto the end of the shaft. |
||||
 |
 |
|||
 |
||||
 |
||||