|
|||||||||||||||||||||||


 |
|||||||||||
|
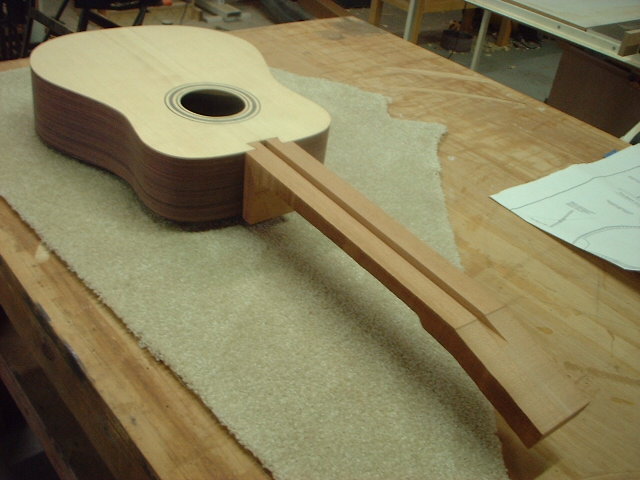
These are the rest of the pictures after I hit the limit on page 1. |
|||||||||||
|
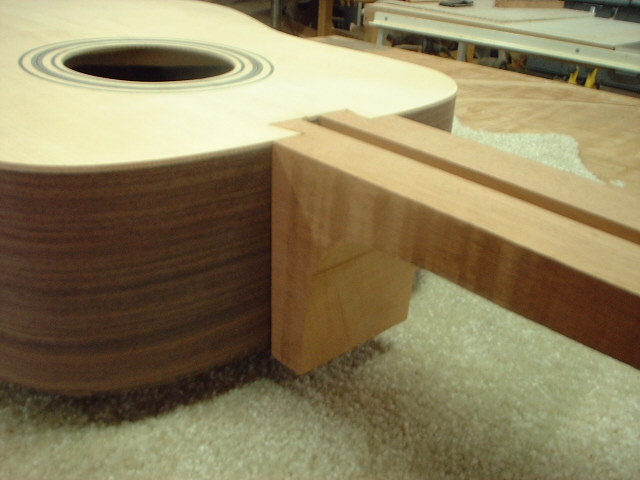
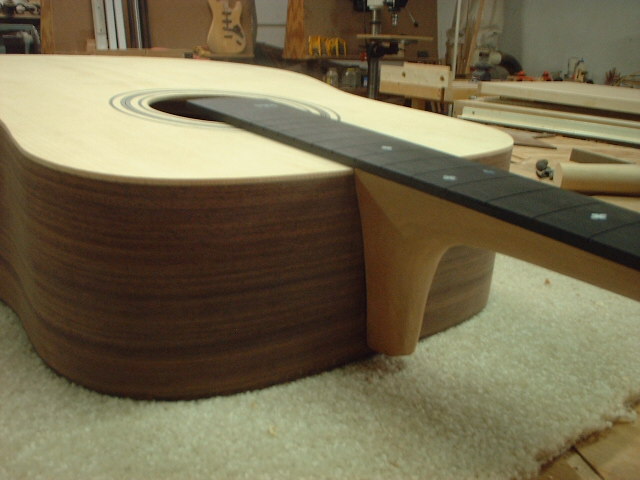
After about 20 careful trimmings, the neck fits flush and tight to the body. Now the dovetail joint itself is tight, but the intersection of the outside of the neck and the side of the body is not as tight as I would have liked. I'll know better next time (and I have an idea about how to tighten it up)... |
|||||||||||
 |
 |
||||||||||
|
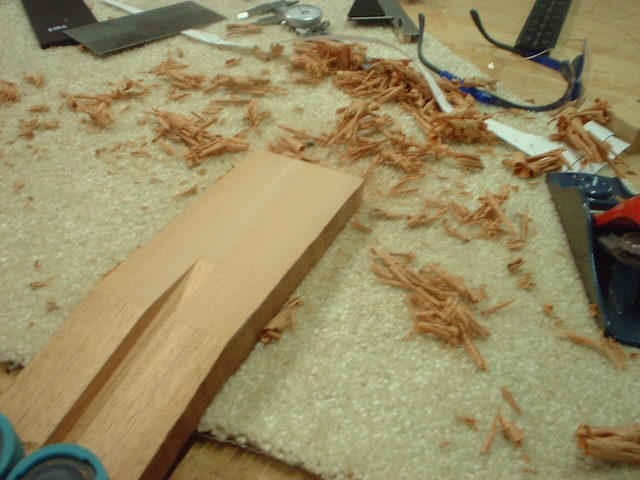
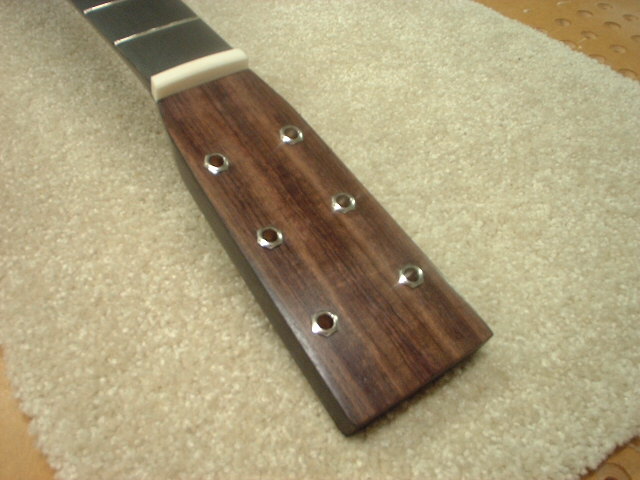
The next job was to do some very careful measuring to find out where the angle of the peghead starts, then plane it to the right angle and flat. I then glued a bookmatched piece of rosewood onto the peghead. The fredboard and nut (white strip) are not fixed in place yet. |
|||||||||||
 |
 |
||||||||||
|
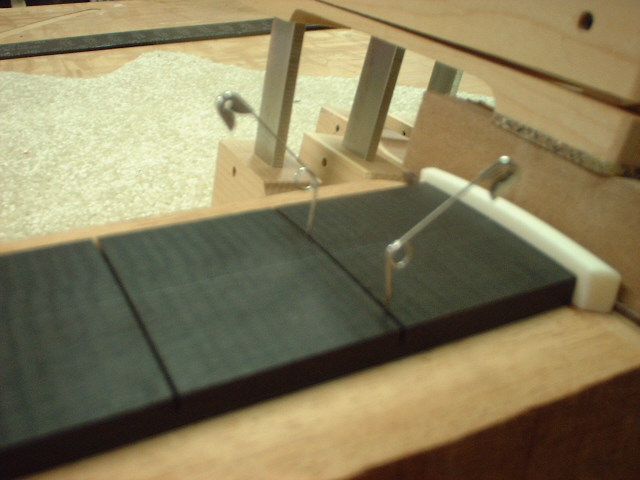
I picked up this tip from Lynn Dudenbostel - to fix the fretboard in position before glueup, drill tiny holes in the ebony fretboard fretwire slot and stick a pin through into the mahogany. Sorry my camera is no good at closeups. This shows the tiny space I've cleaned out with the dremel to fit the decorative mother of pearl diamond inlay. |
|||||||||||
 |
 |
||||||||||
|
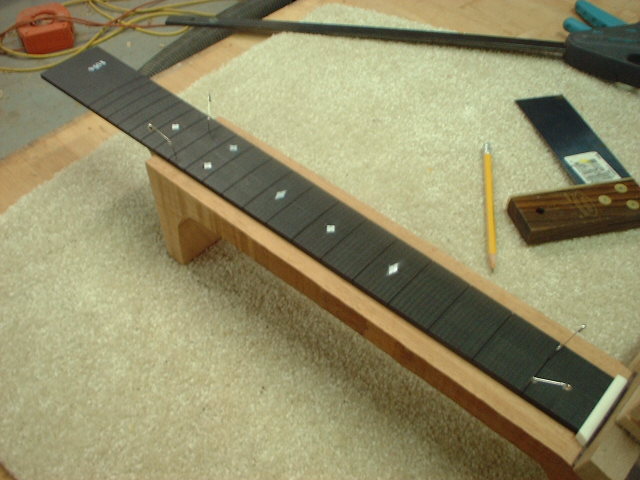
The diamonds are glued in with epoxy that has a black gel mixed in to match the color of the ebony, making it look like the diamonds are perfectly inlaid. This shows the diamonds after sanding off the excess epoxy.. Now the fretboard is glued to the mahogany neck. Care must be taken to keep glue away from the truss rod. |
|||||||||||
 |
 |
||||||||||
|
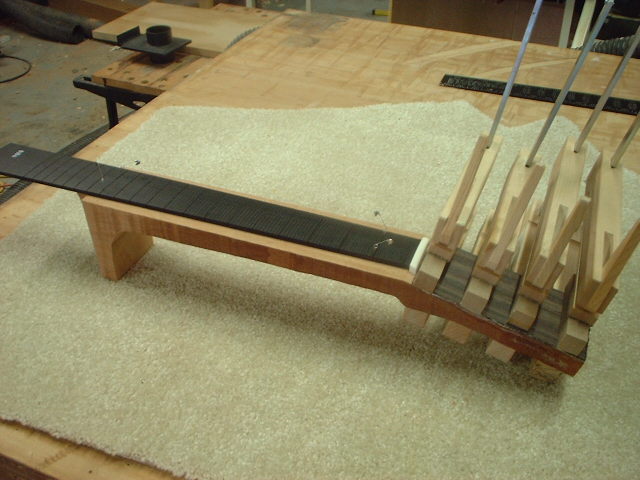
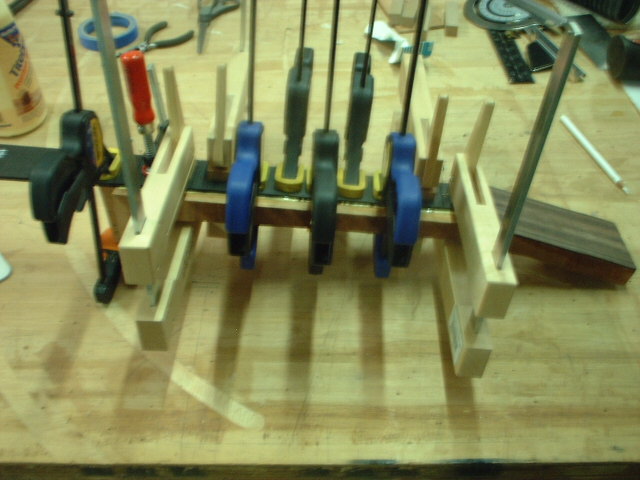
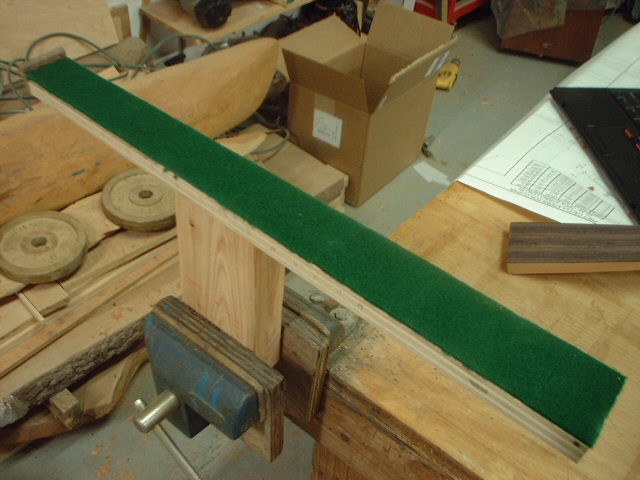
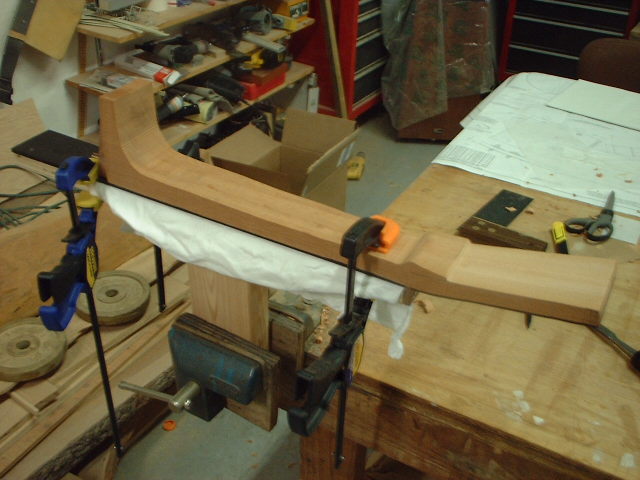
I built this jig to hold the neck in place while I carve the back into shape. On the left you can barely see a piece of walnut (style counts) that lock into the slot for the nut, between the peghead and the fretboard. I then just have to clamp the far end to hold it secure. The felt protects the fretboard from scratches. Starting the carving process. Extra protection from the cloth and another clamp for safety. |
|||||||||||
 |
 |
||||||||||
|
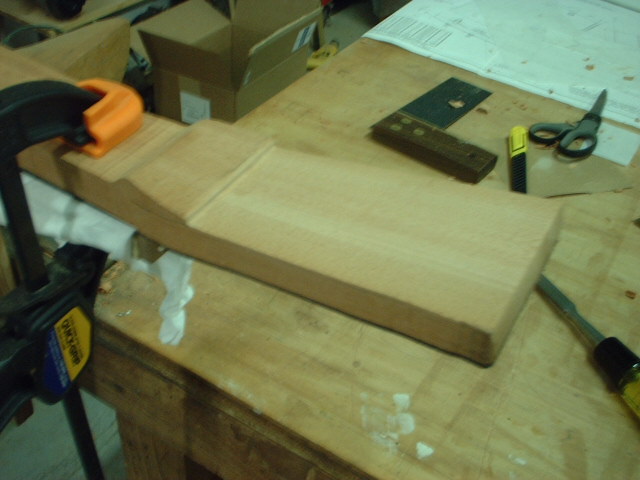
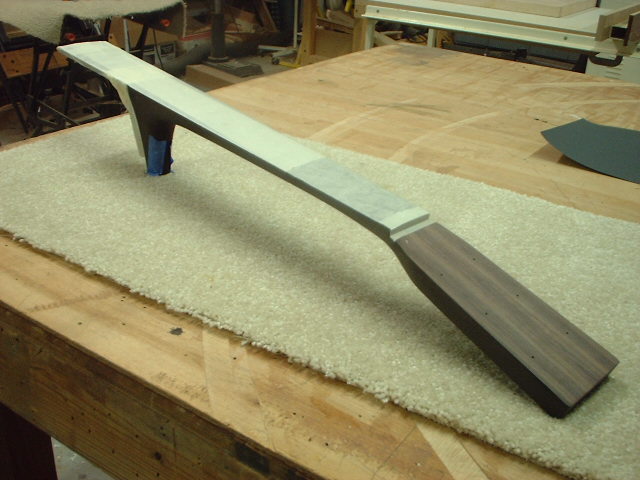
The back of the peghead is trimmed to proper thickness and flattened. The plan gives two profiles, one at each end of the neck. I made templates and carved those to shape. |
|||||||||||
 |
 |
||||||||||
|
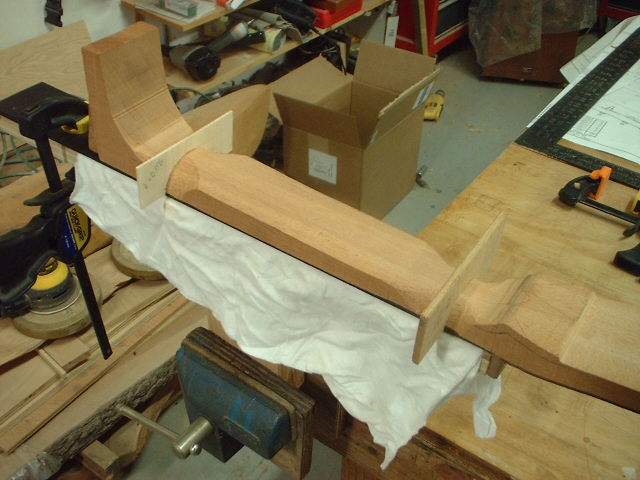
I then carved the space between those two, and then carved out to the two ends. The classic D-28 has an interesting detail - the bump you see is the simulation of a scarf joint. In the very early days of this design the neck and pegboard were two different pieces of wood, connected with an overlapping section, called a scarf joint. When they went with a one-piece neck they kept the scarf detail. |
|||||||||||
 |
 |
||||||||||
|
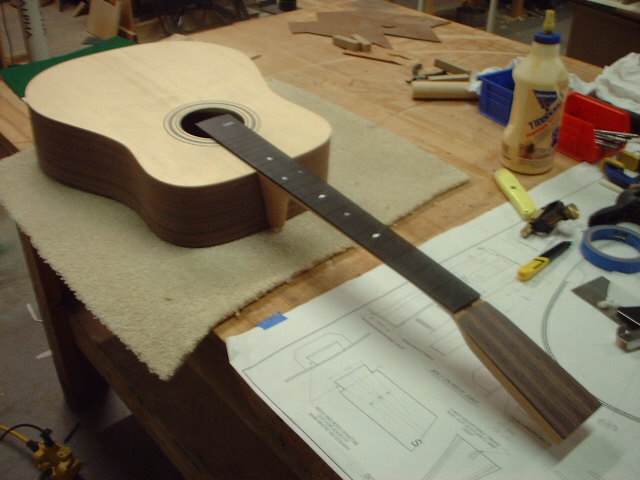
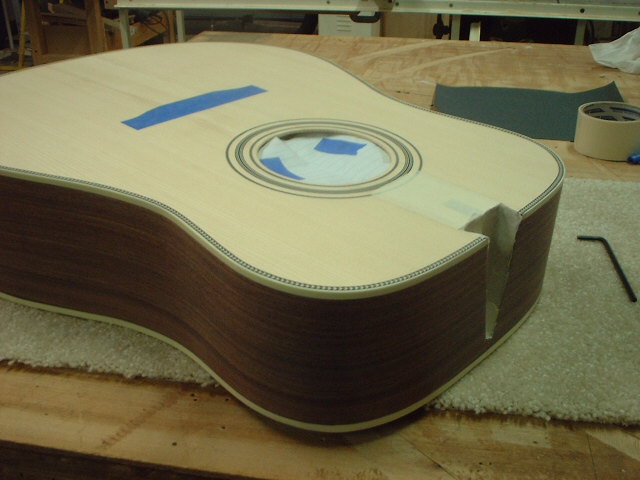
And here is the end that dovetails into the body. This is the first time it actually looks like a guitar. The excess fretboard covering the sound hole will be trimmed later. |
|||||||||||
 |
 |
||||||||||
|
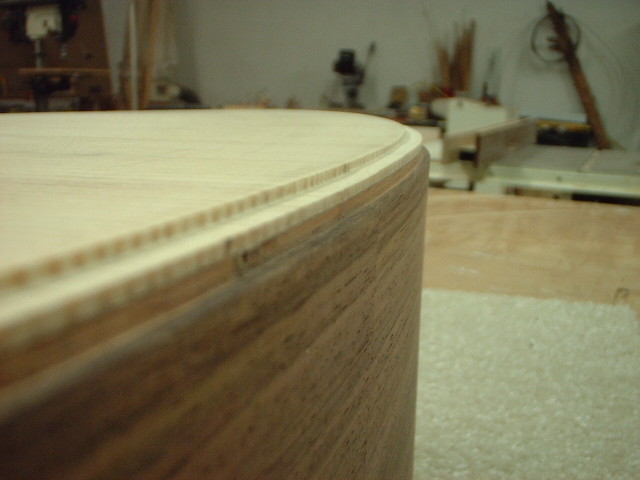
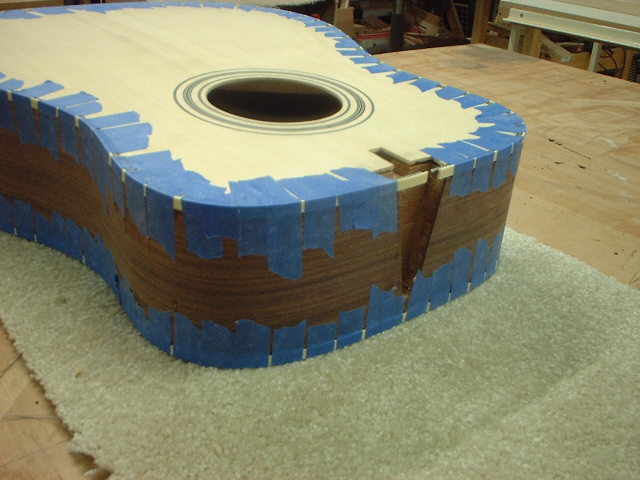
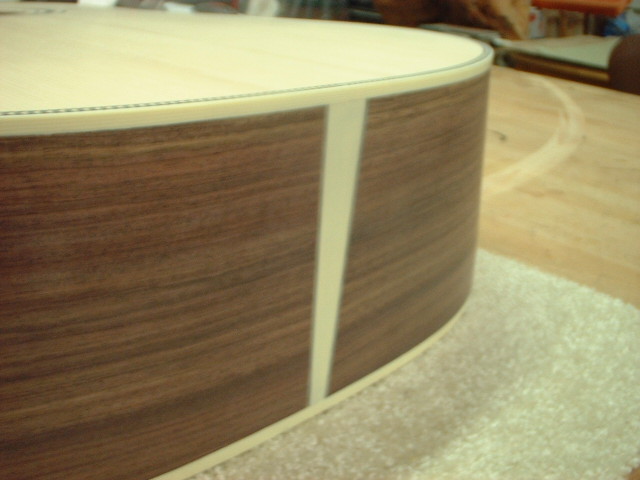
Closeup of the joint between the neck and the sides - needs to be tightened. This shows the two-level rabbet that I cut into the top with a sweet dremel jig. |
|||||||||||
 |
 |
||||||||||
|
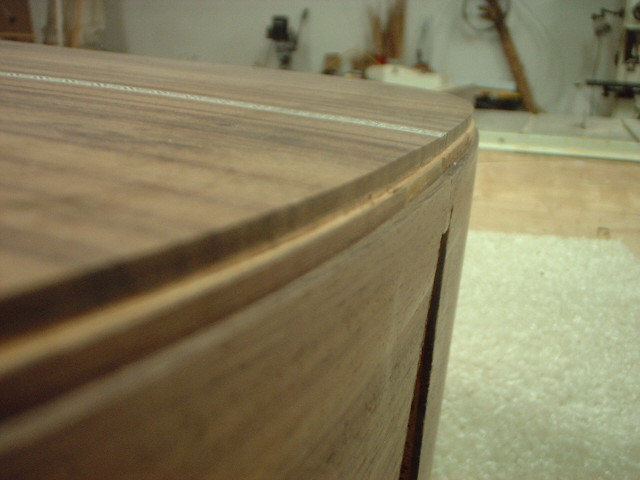
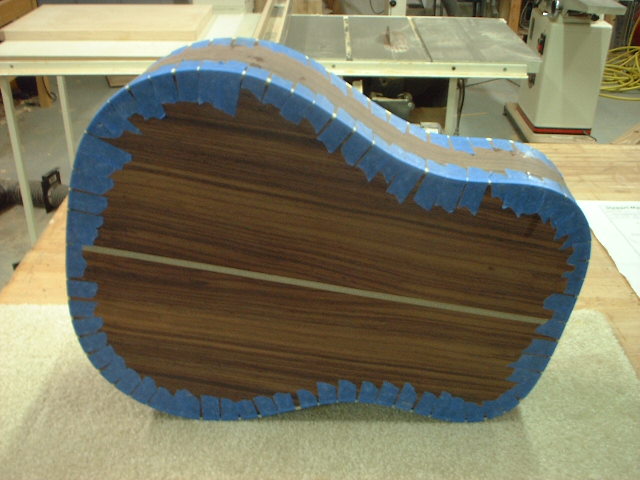
And a similar two-level rabbet on the back. I cut a rabbet into the tail and glued in the tail strip with a piece of the white / black binding on each side. |
|||||||||||
 |
 |
||||||||||
|
I glued the two binding strips around the top and bottom and taped it securely. |
|||||||||||
 |
 |
||||||||||
|
This is what the top looked like when I took off the tape the next day. And the back looked like this. |
|||||||||||
 |
 |
||||||||||
|
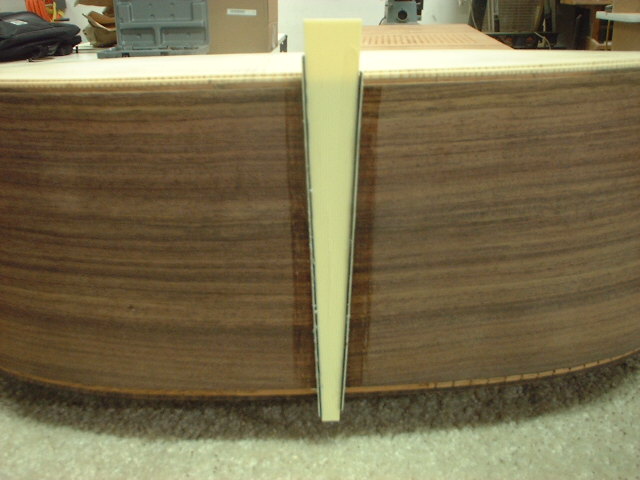
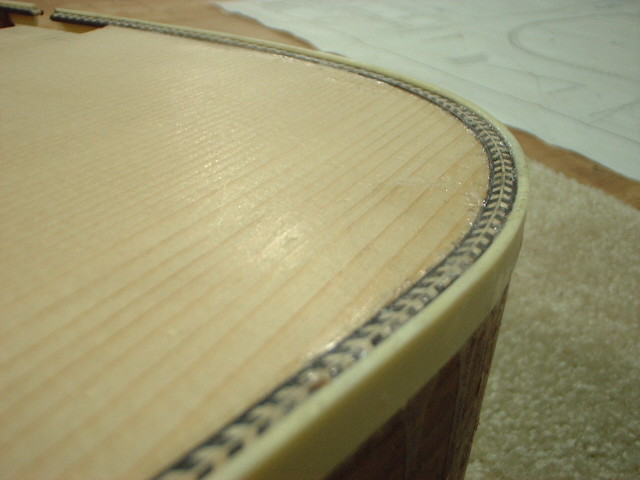
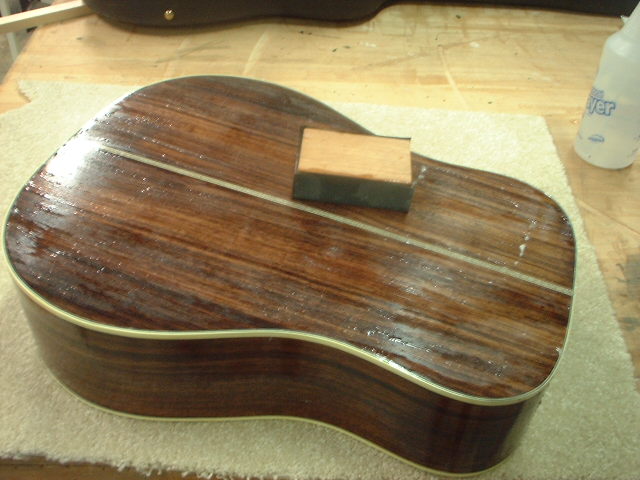
After scraping and finishing, it looks pretty good. The joints between the tail strip and the top and bottom binding is very tight. |
|||||||||||
 |
 |
||||||||||
|
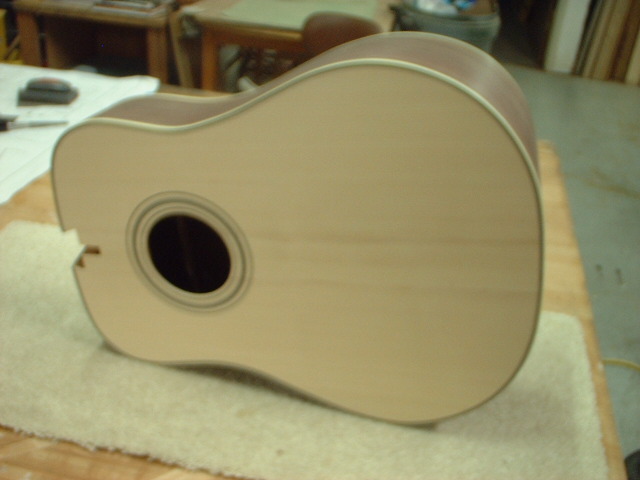
The body is now masked and ready for the sealing coat of shellac. I dyed the neck dark brown and masked off the fretboard, dovetail joint and the socket for the nut, in preparation for spraying with lacquer. |
|||||||||||
 |
 |
||||||||||
|
I've hung the body from the rollup door in the shop and sprayed on two light coats of thinned shellac as the sealer. I wet-sanded with fine paper after each coat of varnish. |
|||||||||||
 |
 |
||||||||||
|
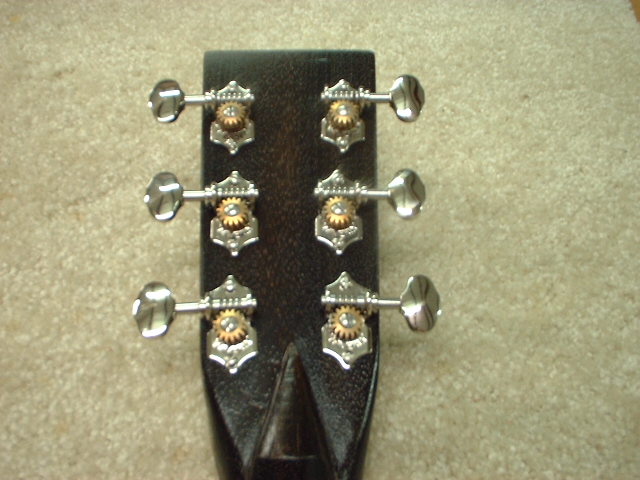
I've drilled and installed the peg tuner bushings. And the pegs are installed. |
|||||||||||
 |
 |
||||||||||
|
And this is what they look like from the bottom. That's $140 worth of hardware right there... I've cut the fret wires. |
|||||||||||
 |
 |
||||||||||
|
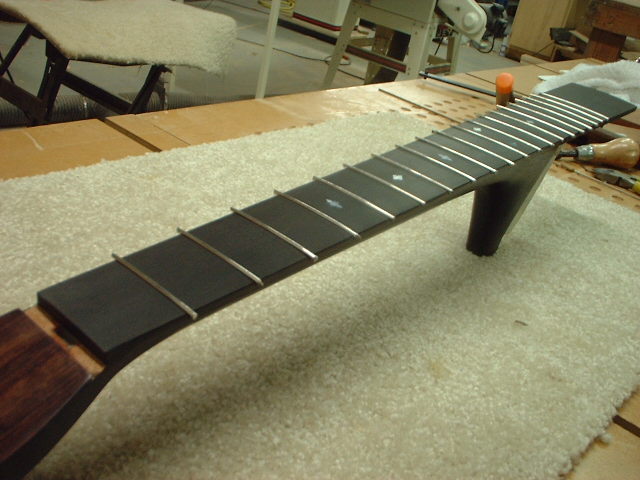
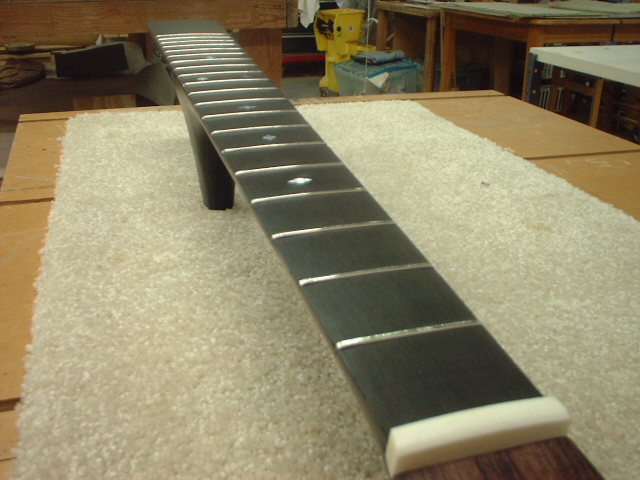
And after a very long time and a bunch of metal files, the frets won't slice open your fingers. Don't ask me how I know this. The moment of truth - the neck is glued into the dovetail on the body. |
|||||||||||
 |
 |
||||||||||
|
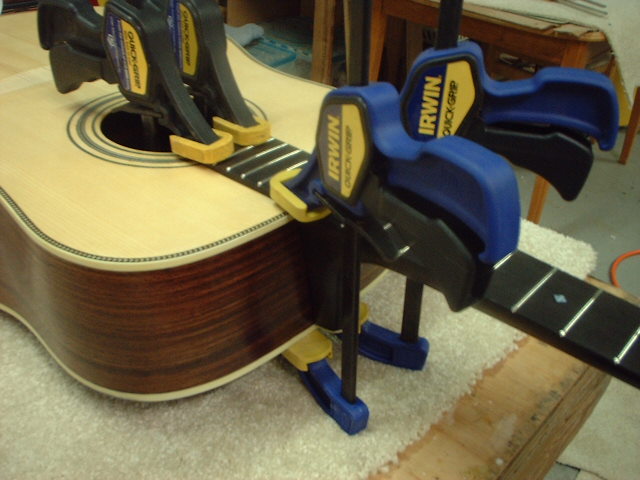
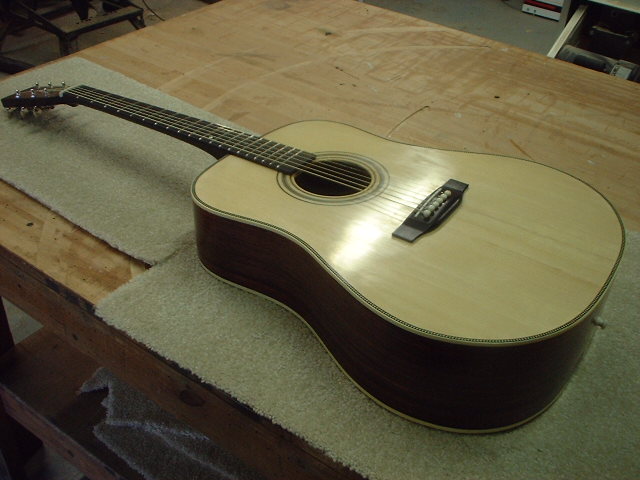
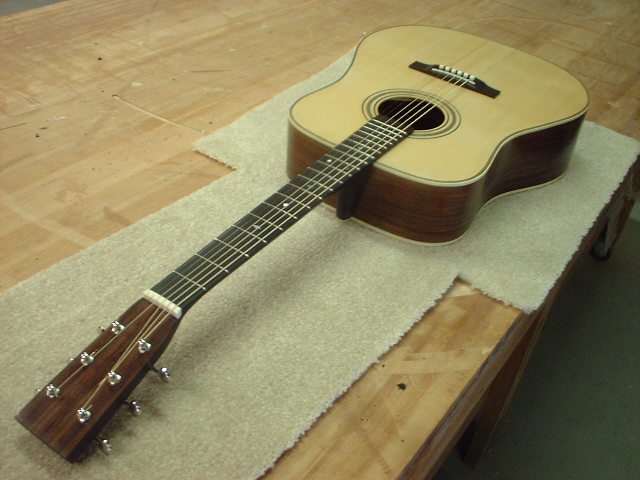
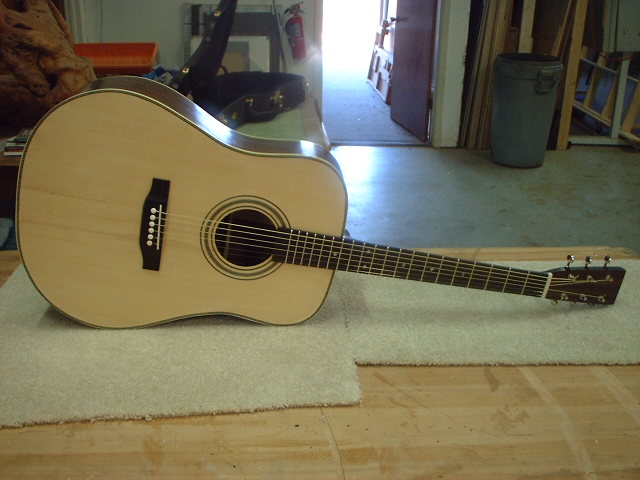
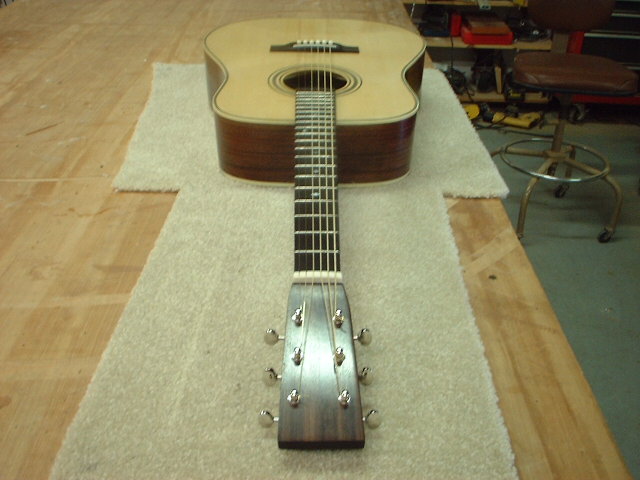
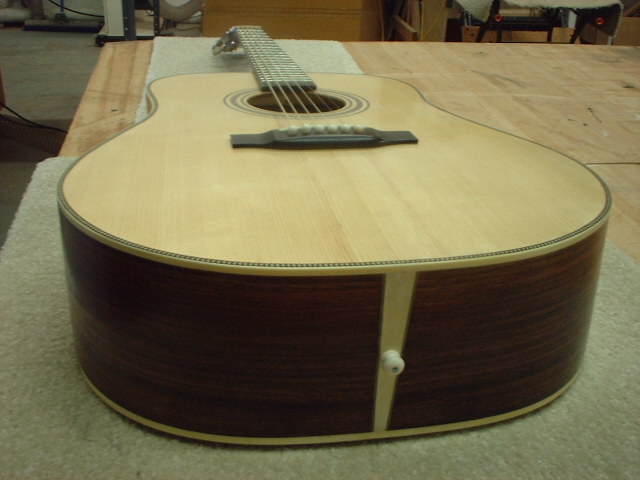
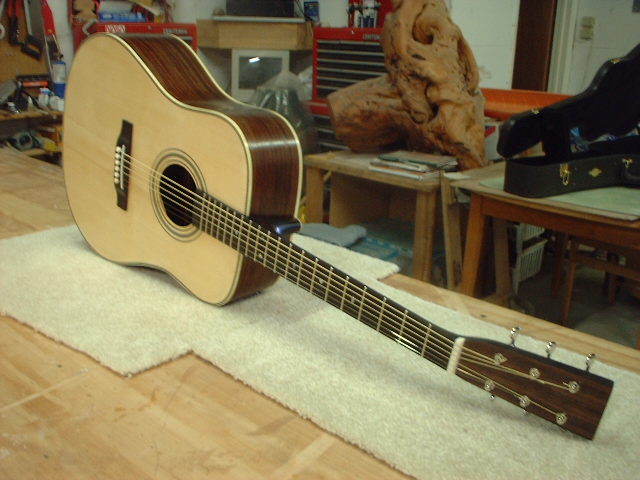
These very handy deep clamps help glue the bridge to the body. Following the video, I used hide glue but it didn't cure and the bridge just peeled off the next day. I reglued with yellow glue and that even made nasty crackling noises when I tuned up the strings so I backed off the tension and will fix this once and for all after the club's woodworking show is over. Well after 135 hours, it looks and sounds like a guitar. The pictures that follow show various angles. I'm not happy with the final french polishing step, as I was in a rush to get it done while I was home from business trips on the weekend. I'll probably finish it after the woodworking show is over. |
|||||||||||
 |
 |
||||||||||
 |
 |
||||||||||
 |
 |
||||||||||
 |
|||||||||||
|
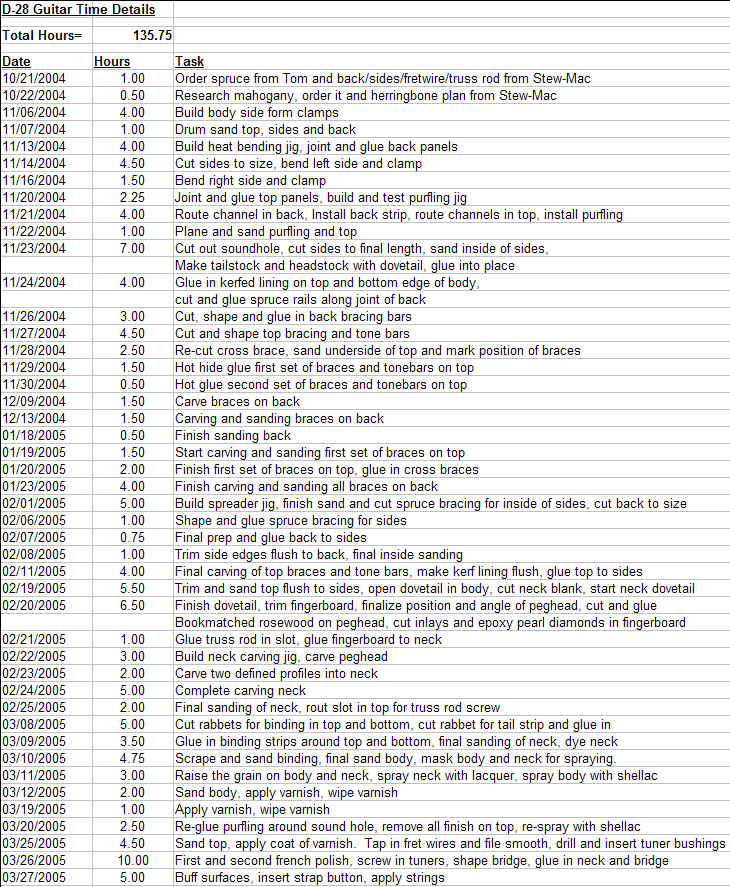
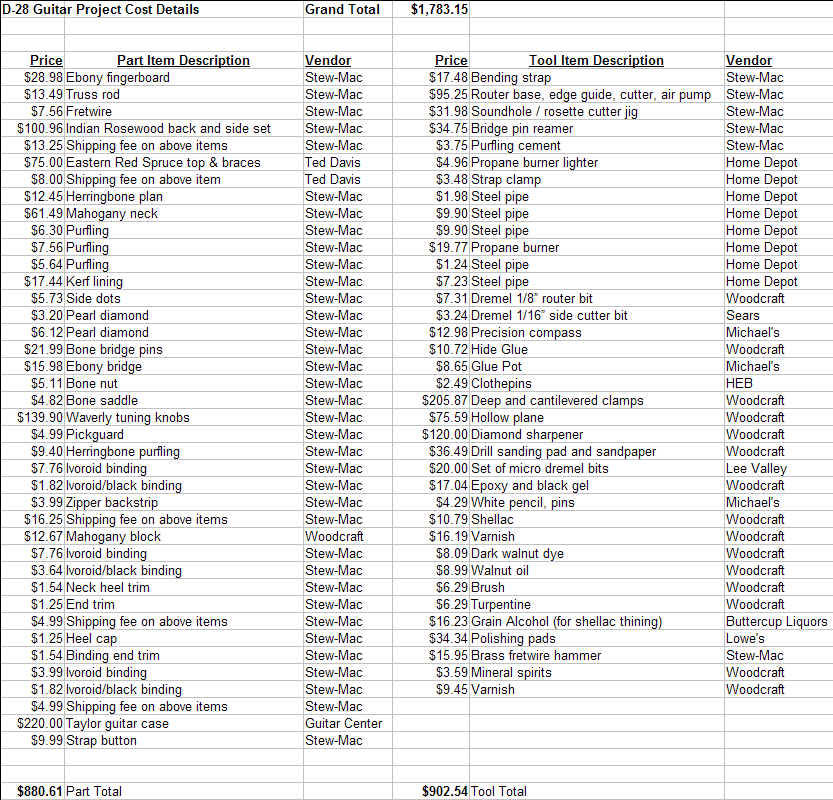
So there you have it. 135 hours of mostly new skills, over 5 months. I entered it into an IBMer artwork show and my woodworking club's show. First below is the number of hours invested in the project. And the bad news farther down, the costs in parts and tools. Both are from an Open Office spreadsheet. |
|||||||||||
 |
|||||||||||
 |
|||||||||||